Historic building facade lighting should reveal the features that explain a building’s character while limiting physical intervention, unwanted light and changes to its setting. Begin with the building’s significance, material condition and permissible mounting locations. Then select the lighting effect and test it on a representative section before committing to equipment.
The right solution may be a restrained accent on an entrance or tower, rather than illumination of every elevation. A convincing night view is only one part of the decision: the fixtures, cables and maintenance arrangements must also be acceptable in daylight.
Define what the lighting should reveal
Start with a brief agreed by the owner, lighting designer and conservation adviser. Identify the architectural features that matter, the viewpoints from which people experience them, and the areas that should remain dark. Establish the applicable approval process with the relevant local authority or heritage body; designation and consent requirements vary by location.
Research can change the visual objective. A facade designed around deep recesses may lose its character if every shadow is filled. An existing lantern may itself be significant, even when its light source is obsolete. Record those distinctions before treating existing equipment as something to replace.
Create an annotated elevation showing three categories: features to illuminate, features to leave unlit, and locations where intervention needs further investigation. This gives procurement a defined scope instead of an open-ended request to make the building brighter.
Match the technique to the material and its condition
Light direction determines whether a facade reads as a broad surface or a sequence of textures and shadows. Grazing light can emphasise carved stone and brick relief, but the same effect can make uneven repairs or surface defects more prominent. A broader wash may produce a calmer result where the overall composition matters more than texture.
For a detailed comparison of the techniques, see wall washing versus wall grazing. On a historic building, add a condition assessment to that optical comparison:
| Surface condition | Initial lighting option to test | What could change the decision |
|---|---|---|
| Sound masonry with relief worth revealing | Directional lighting that retains readable shadows | Deep joints or repairs become visually dominant |
| Broad render or relatively smooth stone | A restrained wash across the intended surface | Variations in finish produce distracting patches |
| Columns, pediments or a distinct entrance | Local accents that preserve the surrounding hierarchy | Sources are visible from important approaches |
| Decorated or painted historic surfaces | A conservation-led assessment before choosing exposure | Unknown pigment or coating sensitivity prevents a routine lighting specification |
These are starting points for evaluation, not material-specific installation rules. Include repaired and weathered areas in the trial; testing only the best-preserved section can conceal problems elsewhere.
Choose white light by comparing actual samples against the intended surface. Correlated colour temperature (CCT) describes the appearance of the white light, but it does not fully describe how that light renders the material’s colours. Specify the candidate configuration, examine its colour-rendering information and compare it on site. No single CCT is appropriate for every historic facade.
Resolve the mounting route before ordering fixtures
A small luminaire does not automatically mean a small conservation impact. Its brackets, power equipment, cable route and eventual removal can matter more than its visible housing.
The following decision matrix combines conservation constraints with procurement checks. Apply it to each proposed fixture location; it is a review method, not an engineered fixing detail.
| Available condition | Conditional design direction | Evidence needed before release |
|---|---|---|
| An existing modern support is available | Investigate reuse before creating a new attachment | Ownership permission, support condition, load assessment and an acceptable beam path |
| A separate mounting position is possible | Test a remote fixture location | Agreed support and cable route, assessment of any ground disturbance, and a trial from nearby viewing positions |
| Attachment to the historic building is unavoidable | Develop the fixing and removal detail with the conservation team | Identified substrate, condition assessment, structural requirements and approval of the intervention |
| No acceptable fixing, cable or maintenance route exists | Reduce the lit area or omit that feature | Revised brief showing how the remaining lighting still meets the project’s purpose |
Mortar joints may offer a less damaging location than drilling through masonry units, but they are not automatically suitable anchors. Joint condition, significance, loads and the proposed fixing all need assessment. Similarly, reusing an existing hole does not establish that the surrounding material can support new equipment.
Trace the complete route from the electrical supply to the fixture. Prefer acceptable existing routes where practicable, and avoid destructive chasing into significant surfaces. Drawings should show drivers, junction boxes and access points as well as luminaires. A concealed cable route is useful only if it can be installed and maintained without unacceptable disturbance.
Set the brightness in relation to the surroundings
Judge the facade from the actual approaches, with nearby streetlights, signs and shopfronts operating. A scheme developed against a completely dark background may behave differently in its real setting.
Do not specify a universal illuminance simply because the facade is historic. Illuminance describes light arriving at a surface; luminance describes light leaving it in a particular direction. Different finishes can therefore appear different under similar incident lighting. Establish the intended visual hierarchy and have the designer identify appropriate calculations, measurement positions and acceptance criteria for the site.
Treat sensitive ecological locations as design constraints from the start. Where bats are known or suspected, obtain ecological advice on roost access, commuting routes and existing darkness before arranging lighting trials. A warm light source alone does not establish an acceptable ecological outcome: location, exposure and operation also matter.
Agree the normal operating scene and switch-off schedule. Test light reaching neighbouring windows and sensitive areas, not just the appearance of the target surface. Controls should implement those agreed limits rather than leave every decorative circuit operating by default.
Shortlist products against the approved installation conditions
Two CRANE product groups can enter an initial comparison once mounting locations and target surfaces are defined. Neither should be treated as a heritage-approved fixture or a substitute for the project’s conservation assessment.
XY Compact for individual architectural features
XY Compact architectural LED floodlights include XYLSY-95, XYLSY-150 and XYLSY-180, with round housings and U-bracket mounting.
This group is a candidate for a selected feature where an approved support provides a suitable aiming position. Before selection, request the drawing and measured photometric file for the exact configuration. Check the bracket envelope, source visibility and beam coverage against the approved location. Confirm the electrical configuration and any required shielding in writing; a product-family listing does not establish every combination or accessory.
HL Compact for a continuous solid feature
HL Compact LED wall washers comprise HL-XQ-3223, HL-XQ-3524 and HL-XQ-3624. The page identifies single-row housings with rotating brackets and distinguishes body dimensions from installed height. Optical options and ingress protection differ by model.
Consider this group where a continuous solid band or wall section can be lit from an approved mounting route. Check the complete installed envelope, cable exits and maintenance clearance. Request configuration-specific photometry to assess coverage and overlap; the page’s illustrative beam graphics are not measured lighting results.
For either group, send an elevation, a mounting section, material photographs, viewing positions and the approved intervention constraints. These inputs allow the product discussion to address a real installation rather than just a wattage or housing size.
Use a representative trial as a procurement checkpoint
A trial should resolve a recorded question: whether relief remains readable, whether repairs become distracting, or whether the source is visible from a particular approach. A visually impressive demonstration without agreed criteria is difficult to turn into a reliable specification.
- Choose a representative section. Include the main material, a junction or projection, and a repaired area where relevant. Agree a temporary setup that respects the site’s conservation and ecological constraints.
- Record the configuration. Identify the fixture, optic, light colour, output setting and mounting position. Change one variable at a time so the reason for improvement is clear.
- Review the actual views. Inspect near and distant approaches and affected windows. Record background lighting and use consistent camera settings when comparing photographs; images supplement on-site assessment.
- Inspect the daytime installation. Review brackets, cables, equipment visibility and maintenance access. Nighttime acceptance cannot resolve an unacceptable physical intervention.
- Release a documented arrangement. Link the accepted sample to its product configuration, layout and control settings. Record unresolved issues and obtain the relevant design and conservation approvals before repeating the detail.
If the trial fails, identify whether the problem is optical, material-related or physical. More output will not resolve an unacceptable fixing location or an intrusive source position.
Frequently asked questions
Can LEDs damage historic paint or decorative finishes?
LED lighting is not inherently damage-free. Vulnerable pigments and coatings can change under visible light. Risk depends on material sensitivity, spectrum, intensity and exposure duration. Ask a conservator to assess significant decorated surfaces; museum guidance can explain the mechanisms, but museum exposure limits should not be transferred directly to an exterior facade.
Can wireless controls eliminate the need for new cabling?
They may reduce control wiring, but the luminaires and associated equipment still need an appropriate power supply. Confirm receiver compatibility, radio coverage and equipment locations before relying on wireless control to simplify an installation. Do not assume that a wireless option is available for every candidate fixture.
Should old lanterns be replaced with modern architectural fittings?
First establish whether the lanterns have heritage significance. Restoration, a carefully assessed internal upgrade, replication or replacement may have different consequences. Record their condition and historic role before choosing an approach; being inefficient or non-functional does not by itself establish that removal is appropriate.
What should a tender require for alternative products?
Require a comparison against the accepted configuration: photometric distribution, light colour, installed dimensions, bracket movement, electrical compatibility and maintenance access. Ask the designer to review departures explicitly. Matching nominal wattage or CCT alone does not demonstrate that an alternative will reproduce the approved result.
Should the lighting be reviewed after facade cleaning or repair?
Yes, where the work changes the illuminated surface. Cleaning, repointing or replacement finishes can alter reflectance and apparent contrast. Recheck the affected areas against the accepted night view and adjust within the approved operating range. Conservation needs should determine the treatment; the facade should not be altered simply to suit a lighting effect.
Can the same scheme continue unchanged when neighbouring lighting changes?
It should be reviewed if the surrounding night scene changes materially. New signage, altered streetlighting or changed opening hours may affect contrast and source visibility. Revisit the recorded viewpoints before raising output: changing the operating scene or emphasis may be sufficient.
Discuss a heritage facade lighting specification
Contact CRANE about candidate lighting configurations with your elevation drawings, material condition information, permitted mounting locations and intended night view. Include conservation restrictions and operating requirements so the product discussion can focus on configurations that merit further technical assessment.

Ethan Lee
Product Selection
Explore Lighting Products for Facade Projects
Compare product families by the lighting effect, mounting position and architectural detail you need to achieve.
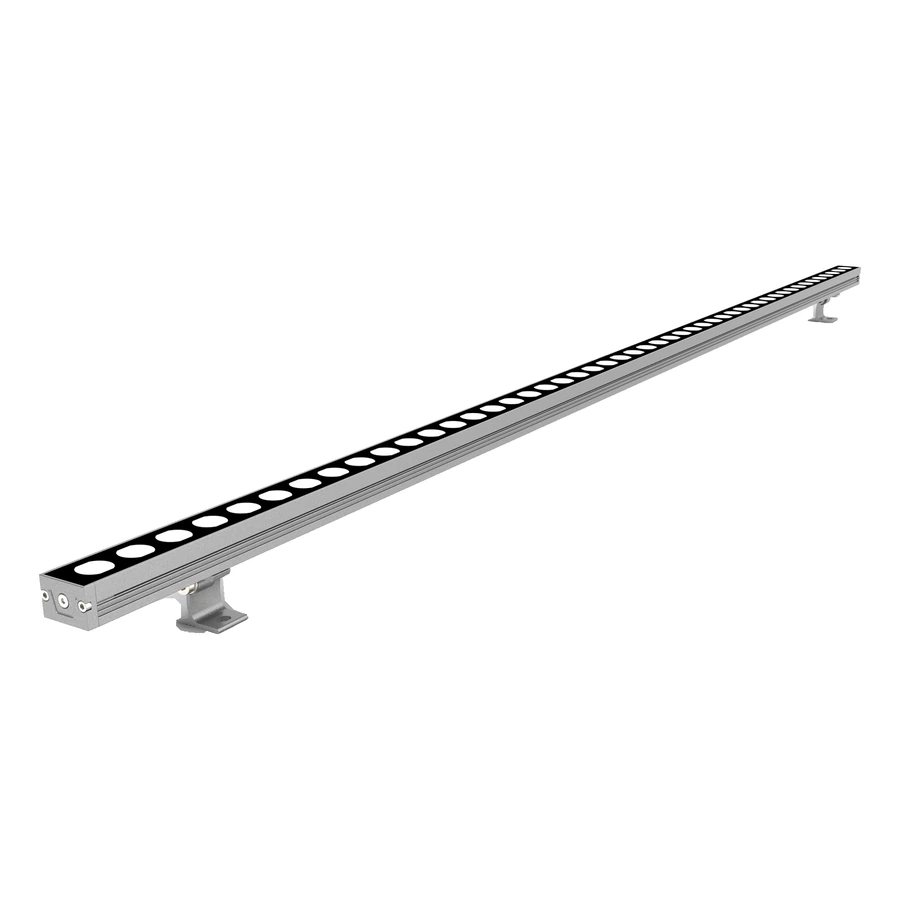
LED Wall Washer Lights
Architectural wall washer lighting for building facades, vertical surfaces and outdoor structures.
Browse Wall Washer Lights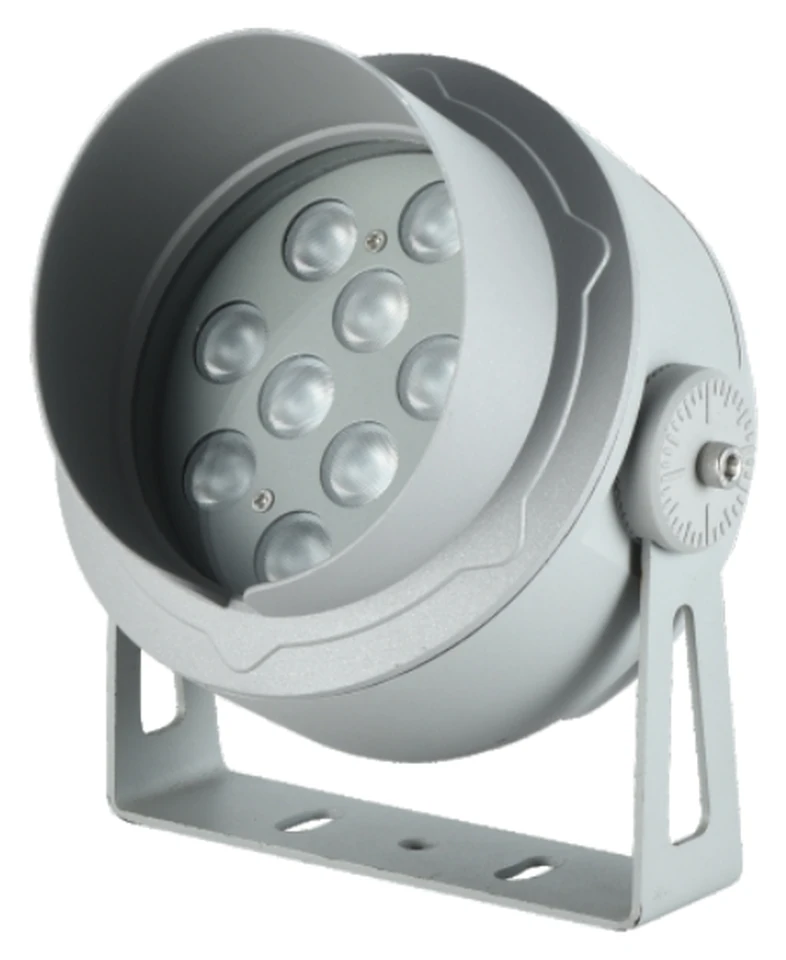
LED Flood Lights
Architectural LED flood lights for facades, landmarks, landscapes and outdoor lighting projects.
Browse Flood Lights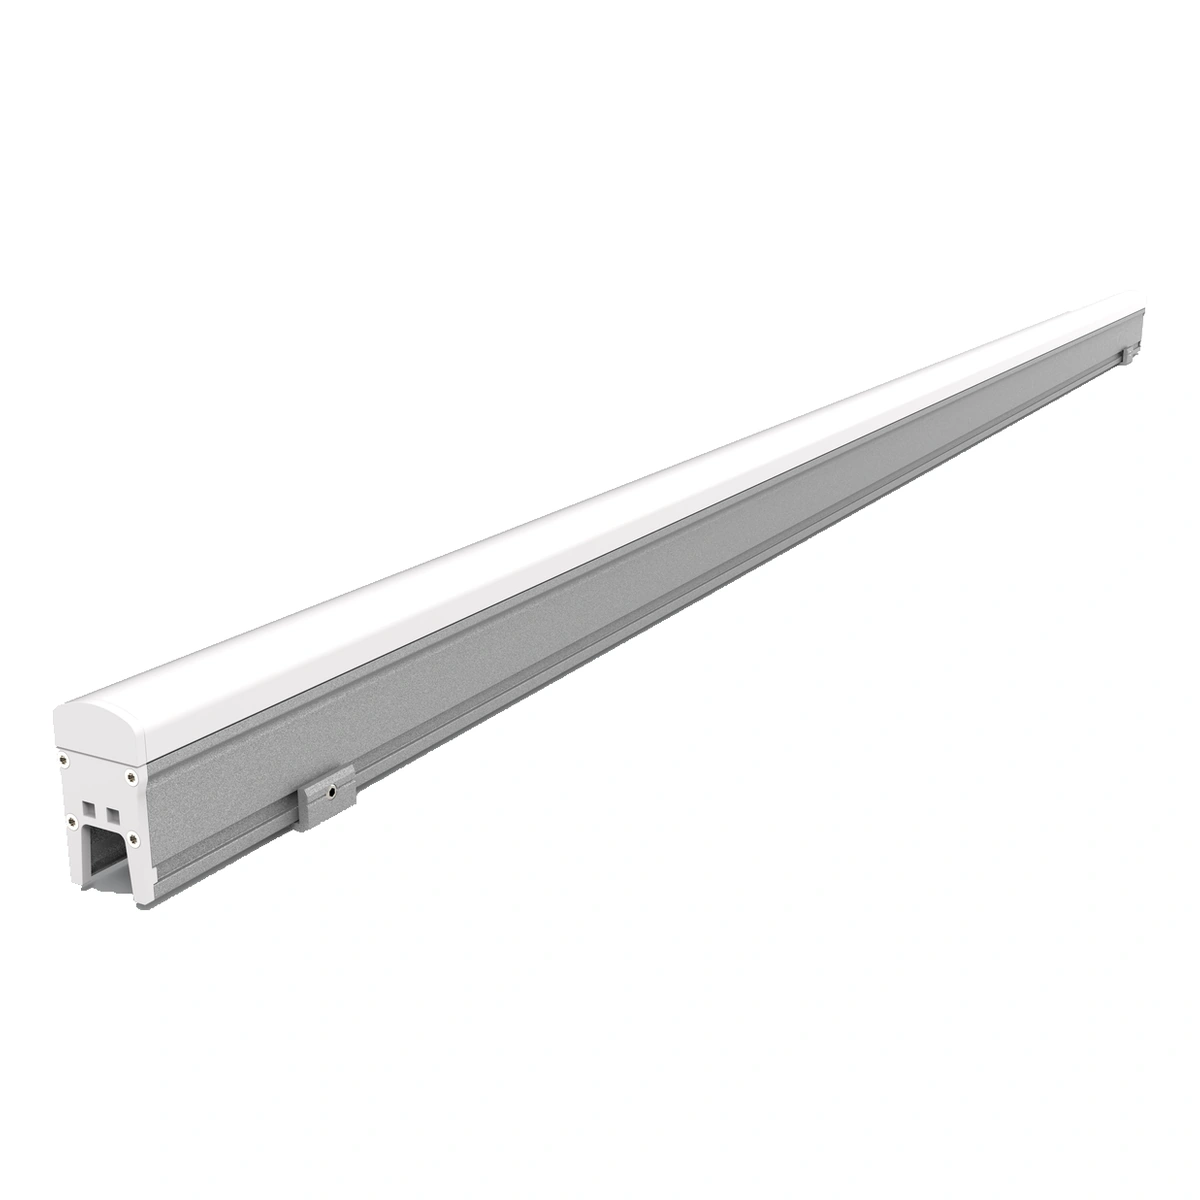
LED Linear Lights
Architectural LED linear lights with model-specific PC covers, glass faces or aluminium aperture-style profiles.
Browse Linear LightsExplore Facade Lighting Solutions
Related Project
See Facade Lighting in Practice
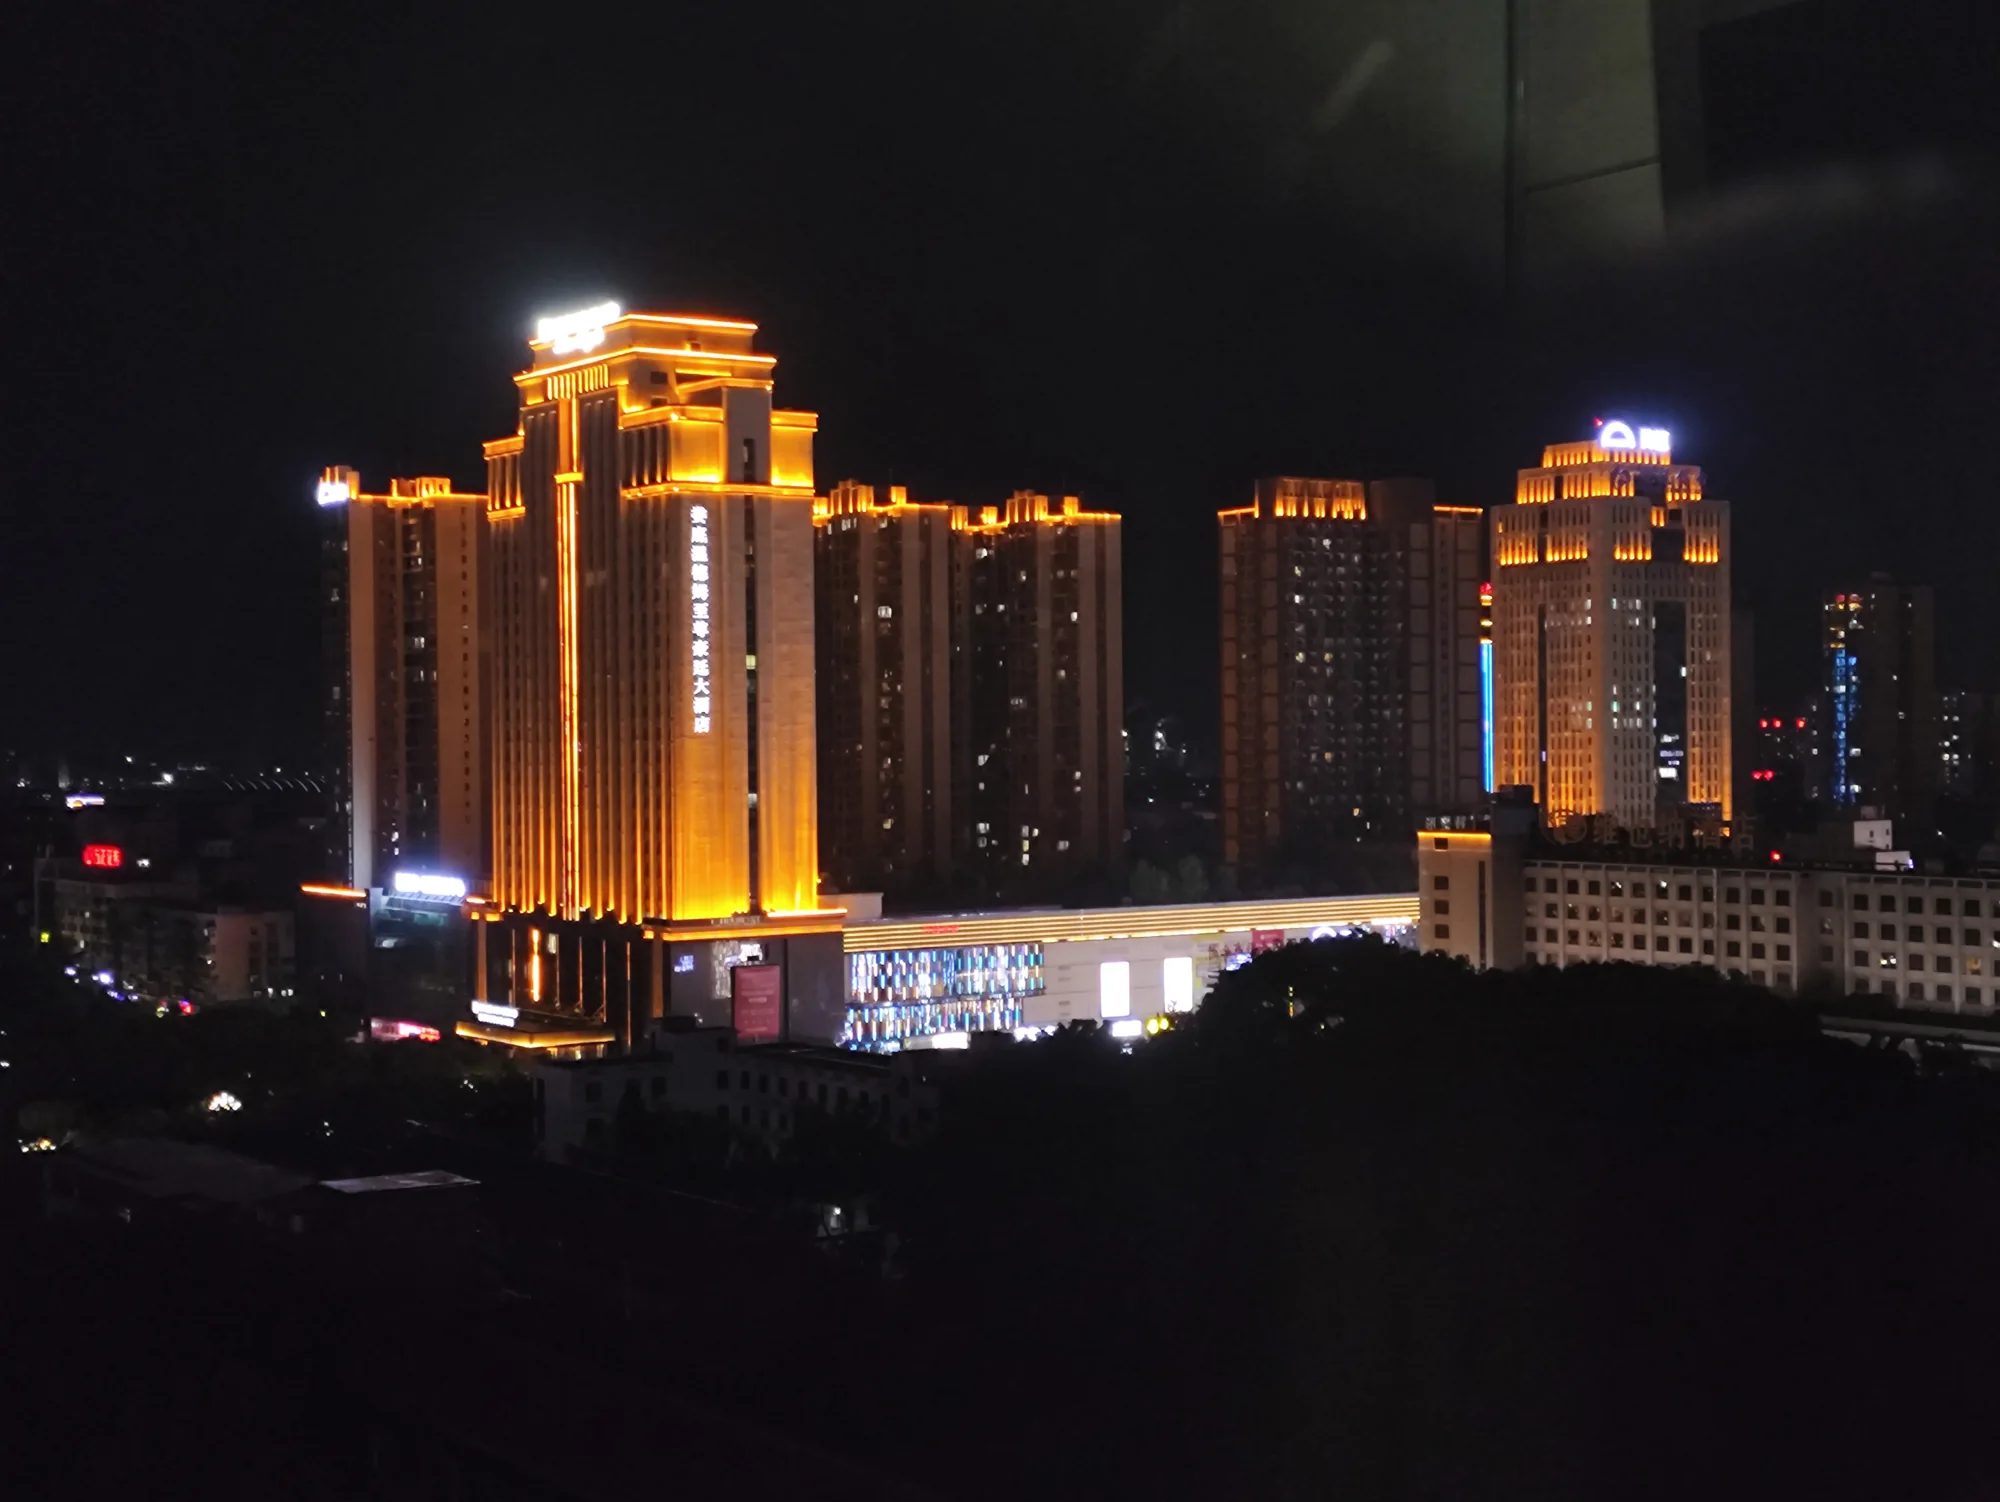
Loudi Wanhao City Plaza
At Loudi Wanhao City Plaza, warm architectural lighting defines the tower crowns and vertical facade details above a busy retail podium. The towers contribute to the night-time skyline, while the lower frontage is experienced at street level—two different lighting scales within one…
View the Lighting ProjectProject Inquiry
Discuss Your Facade Lighting Project
Tell us about your facade, desired lighting effect and project requirements.