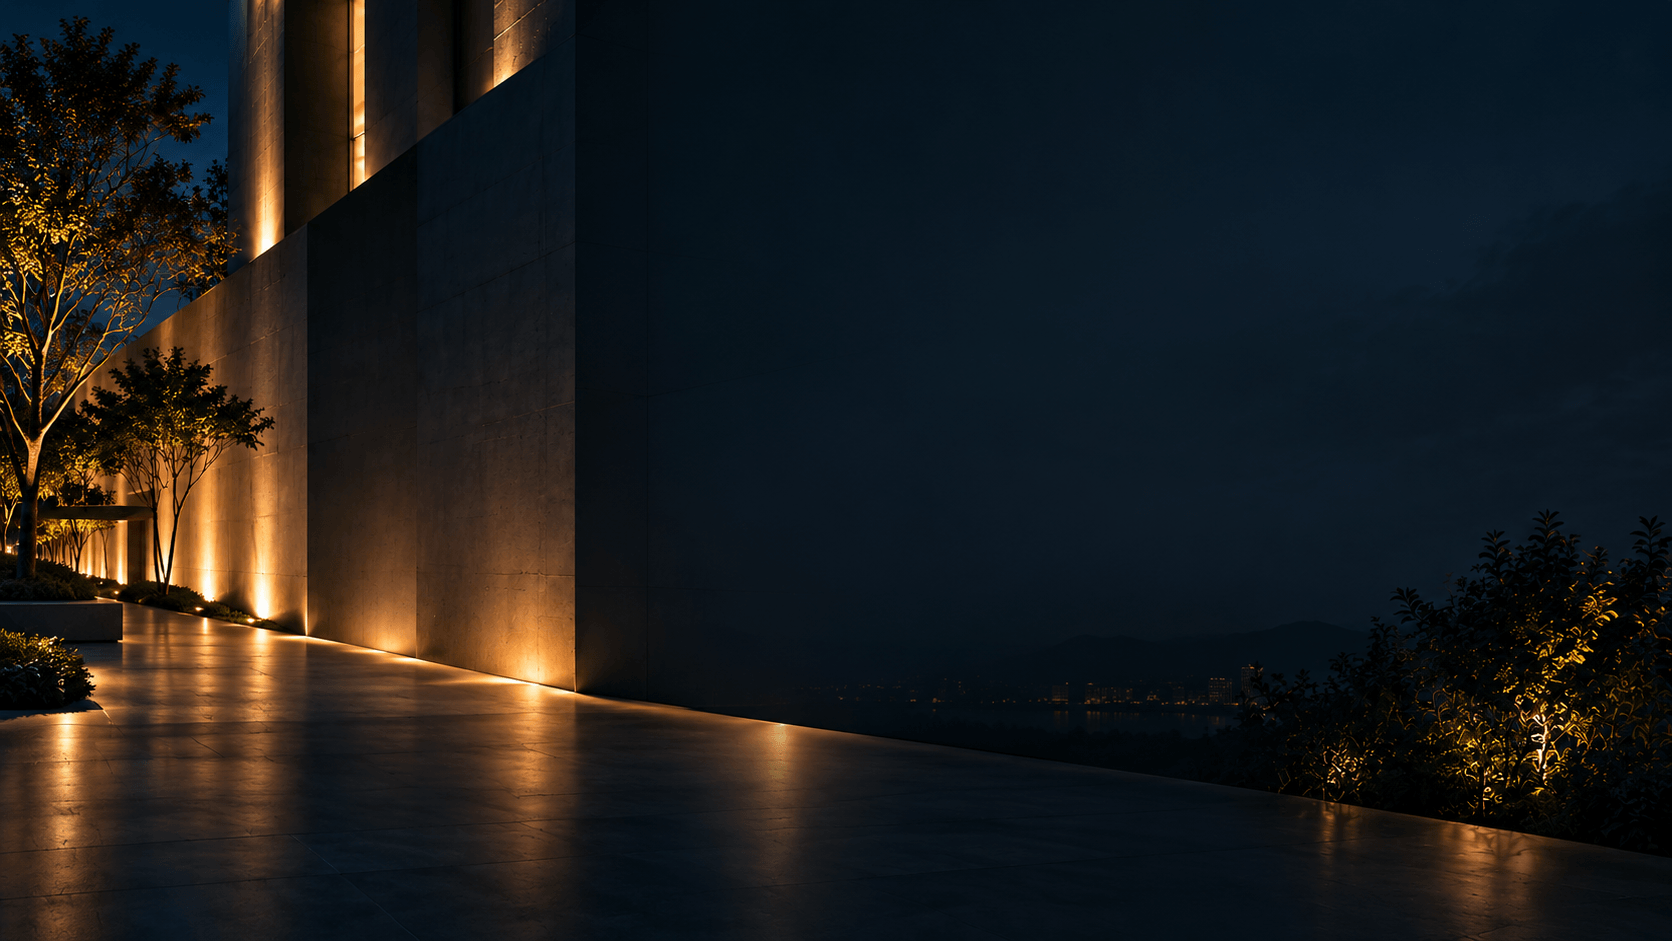
Building facade lighting design involves deciding which architectural features should be visible after dark, how they should appear, and how to achieve that result within the site’s environmental and installation constraints.
A workable design connects five decisions: the intended visual effect, the facade material, the available mounting positions, the luminaire’s light distribution, and the operating schedule. These decisions should be tested together before fixture quantities and specifications are finalized.
For designers, contractors and procurement teams, the practical starting point is a documented lighting brief. It establishes what the scheme must achieve and gives everyone a consistent basis for evaluating proposals.
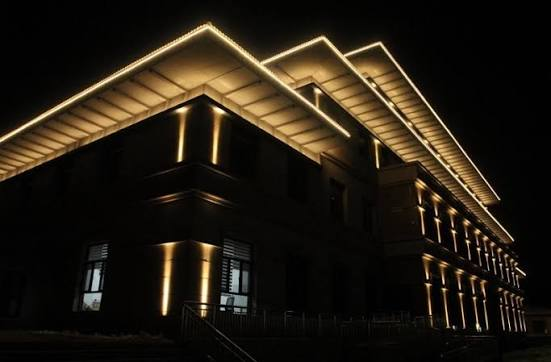
Start with the Building and Its Surroundings
Begin with elevations, sections, material samples and a site review after dark. A daytime photograph can show architectural details, but it cannot establish how the building will appear against surrounding lighting or where people will see exposed light sources.
Record the following information before selecting fixtures:
| Project information | What to establish | How it affects the design |
|---|---|---|
| Architectural priorities | Main entrance, structural rhythm, materials, roofline and identifying features | Defines the elements that deserve emphasis |
| Viewing positions | Pedestrian approaches, roads, nearby buildings and longer-distance views | Determines which effects and details will be visible |
| Facade geometry | Recesses, projections, glazing, canopies and changes in surface angle | Reveals obstructions and possible mounting locations |
| Material condition | Finish, texture, color, joints and surface irregularities | Helps assess whether lighting will reveal desirable or unwanted details |
| Sensitive surroundings | Occupied windows, habitats and other locations affected by stray light | Identifies areas requiring protection |
| Installation access | Fixing zones, cable routes, power locations and maintenance access | Establishes what can be installed and serviced |
Turn the brief into a short statement of intent. For example:
Make the entrance identifiable from the main approach, reveal the rhythm of the solid facade bays, and keep decorative light away from occupied windows.
This is an illustrative design brief, not a description of a CRANE project. Its value is that each proposed lighting layer can be checked against a specific purpose.
Choose Lighting Techniques by Their Intended Effect
Different techniques reveal different aspects of architecture. Establish the desired result before choosing the fixture format.
| Technique | Intended effect | Main design check |
|---|---|---|
| Wall washing | Broad, relatively even illumination across a surface | Whether the distribution and mounting arrangement provide the required coverage |
| Wall grazing | Stronger expression of surface relief through light and shadow | Whether texture, joints and imperfections benefit from emphasis |
| Accent lighting | Selective emphasis on columns, entrances or other features | Whether the beam remains on the intended target |
| Linear outline lighting | Visible lines following architectural edges or repeated elements | Continuity, brightness and appearance from different viewing positions |
| Direct-view media lighting | Patterns formed by visible luminous points or segments | Whether the layout and viewing distance support the intended visual detail |
ERCO’s facade guidance distinguishes broad surface illumination, texture-enhancing grazing and selective accents as different architectural tools. The appropriate technique depends on the feature being illuminated. ERCO facade lighting guidance
For surface illumination, CRANE’s LED wall washer range provides a starting point for comparing model-specific configurations. For visible architectural lines, review the architectural LED linear lights against the intended installation detail.
The term linear describes a form rather than a single optical function. A linear wall washer and a direct-view linear luminaire can both have elongated housings while producing very different effects.
Let the Material Influence the Design
Evaluate the surface, not just its color
Test representative samples of the actual cladding. Ask whether the proposed lighting makes joints, repairs or panel variations more prominent than intended.
Glass needs particular attention. Transparent glazing transmits and reflects light, so treating it like an opaque wall can produce an ineffective or intrusive result. Depending on the architecture, illuminating structural elements or coordinating the visible interior may be more appropriate. ERCO guidance on transparent facades
For a mixed-material elevation, create separate lighting zones where useful. A single output setting across stone, metal and glazing may not produce a coherent appearance.
Distinguish illuminance from visible brightness
Illuminance, measured in lux, describes light arriving at a surface. Luminance, commonly expressed in candelas per square meter, describes light leaving a surface in a particular direction.
Two surfaces receiving the same illuminance can appear different because their reflective properties differ. Perceived brightness also depends on the observer’s adaptation and surrounding contrasts. ERCO explanation of luminance
The practical consequence is that a facade should not be approved from an average lux value alone. Review the material appearance, the distribution of light and the important viewing positions together.
Approve light color on the building material
For white-light schemes, compare candidate light sources on the actual finish. Record the selected configuration so procurement and installation teams work from the same reference.
For color-changing schemes, define the everyday scene as carefully as the occasional event scenes. The project team should approve how the building looks during normal operation, including periods when movement or saturated color is unnecessary.
Establish a Brightness Hierarchy and Protect the Surroundings
Mark the intended focal elements, supporting surfaces and areas that should remain dark on the elevation. Use this drawing to review whether proposed lighting layers reinforce the same hierarchy.
Keep decorative facade lighting and functional lighting requirements distinct in the brief. An illuminated upper facade does not establish that entrances, steps or circulation routes have been adequately assessed.
Environmental constraints should influence the concept from the beginning. The principles published jointly by DarkSky and the Illuminating Engineering Society emphasize a clear purpose, controlled direction, appropriate light levels, suitable operating times and warmer light where possible. Five Principles for Responsible Outdoor Lighting
Translate these principles into project decisions:
- Identify windows and other sensitive locations on the lighting drawings.
- Check light that misses the building as well as light reaching it.
- Consider shielding and alternative mounting positions before increasing output.
- Define reduced-output or switch-off periods where appropriate.
- Review the scheme from affected viewpoints, not only the preferred presentation view.
CIE 150:2017 provides guidance for assessing and limiting obtrusive outdoor lighting. The project team should establish which local requirements and assessment criteria apply before approving the design. This guide does not prescribe one universal facade illuminance or luminance limit. CIE 150:2017 publication overview
Develop the Fixture Layout and Specification Together
A fixture schedule should describe the configuration that produces the proposed result. A product family name or wattage alone is insufficient for that purpose.
For each lighting zone, request:
| Specification item | Question to resolve |
|---|---|
| Exact luminaire and optic | Which configuration is represented in the proposal? |
| Photometric data | Does the calculation use data matching that configuration? |
| Mounting and aiming detail | Can the proposed position and orientation be achieved on site? |
| Light color and output | Which options will be supplied and approved? |
| Electrical and control configuration | How will the selected version connect to the proposed system? |
| Environmental suitability | Is the complete installation appropriate for its exposure? |
| Maintenance arrangement | How will the fixture, driver and connections be reached? |
For example, CRANE’s LM 66 Multi-Row product page groups models with different electrical and protection specifications. The full model and configuration should remain identifiable through quotation, calculation and ordering.
Where fixtures must project toward a target from a separate mounting location, the LED flood light range may also be relevant. Selection still depends on target geometry, available mounting positions and the required light distribution.
Treat spacing as an outcome of the design
Avoid freezing fixture spacing before the optic and mounting position have been evaluated. A repeating architectural grid may suggest convenient locations, but those locations still need to deliver the intended result.
Compare candidate arrangements using the selected luminaires’ photometric data and the actual geometry. Review coverage, transitions between fixtures, obstructions and light outside the target.
A practical review question is: If a mounting point moves during coordination, which lighting assumptions need to be checked again? Record those dependencies before construction changes begin.
Define Controls as Part of the Operating Brief
Specify what the lighting should do before selecting the final control arrangement. A short scene schedule is useful:
| Operating condition | Decision to document |
|---|---|
| Normal evening operation | Active zones and approved appearance |
| Late-night operation | Zones reduced or switched off |
| Special events | Permitted colors, effects and operating duration |
| Maintenance | How individual zones can be identified and tested |
| Restart after interruption | Required behavior when power or control returns |
Dynamic lighting also needs a relationship between the physical installation and the programmed content.
CRANE’s Changsha Theatre and Art Centre project describes programmed patterns across a curved frontage alongside roofline accents, with DMX512 identified as the control protocol. It illustrates how two lighting layers can have different visual roles within one scheme.
For another project, define those roles independently. A facade animation, entrance accent and roofline should each have an explicit purpose and operating requirement.
Validate the Proposal with Calculations and a Mockup
Use a staged approval process so that important decisions are tested before they become expensive to change.
First, review the concept. Confirm the intended hierarchy, main viewpoints, proposed techniques and areas excluded from illumination.
Next, assess the proposed configuration. Record the luminaire data, mounting positions, aiming, surface assumptions and assessment criteria used in the calculations. A visualization should support this review rather than serve as the only evidence.
Then, build a representative mockup. Include enough of the facade to assess relevant details such as a joint, a corner, a window edge or the transition between adjacent fixtures.
During the mockup, check:
- The appearance from the agreed near and distant viewpoints.
- Whether exposed sources or reflections cause discomfort.
- Whether texture and construction details appear as intended.
- Transitions between fixtures and lighting zones.
- The effect on nearby windows and surfaces.
- Dimming behavior and scene changes.
- Whether the proposed fixing and maintenance arrangements remain practical.
Record the approved fixture configuration, position, aiming and control settings. If a later substitution changes these conditions, identify which checks need to be repeated.
Illustrative example: a mixed-material commercial facade
Consider a hypothetical building with stone entrance bays, glazed office floors and a projecting roof edge. The brief calls for a clear entrance, a readable silhouette and limited light at office windows.
A useful first comparison would be between:
- Broad illumination of the elevation.
- Selective illumination of the stone bays combined with a separate roofline layer.
The design team would compare both approaches against the same viewing positions and environmental criteria. A mockup should include a stone bay beside glazing, allowing the team to assess the transition and any unwanted light at the window.
No fixture quantity, wattage or spacing can be determined from this description alone. Those decisions require dimensions, mounting information, material characteristics and candidate luminaire data.
The example demonstrates the planning sequence: identify the architectural task, compare workable approaches, then establish the detailed specification.
Prepare a Design Package That Can Be Built and Maintained
Before procurement, assemble a coordinated package containing:
- Annotated elevations showing lighting zones and fixture locations.
- A schedule identifying exact luminaire configurations.
- Mounting, aiming and cable-route details.
- Calculation assumptions and assessment results.
- Approved mockup records.
- Electrical and control responsibilities.
- Scene settings and operating schedules.
- Access provisions for cleaning, adjustment and replacement.
- Commissioning checks and handover requirements.
Assign responsibility for unresolved items. A proposal becomes difficult to deliver when the lighting designer, facade contractor, electrical contractor and controls provider each assume another party will resolve the same interface.
At commissioning, compare the completed installation with the approved design and mockup. Record final aiming and scene settings so future maintenance can preserve the intended result.
Frequently Asked Questions About Building Facade Lighting
Why can two facade lights look different even when both are rated 3000K?
A nominal correlated color temperature (CCT) does not specify an exact chromaticity. Two LEDs labeled 3000K can occupy different positions within an allowed color range and show a visible tint difference. Manufacturers therefore use color bins and tolerance specifications to describe consistency. For adjacent luminaires, request the finished fixture’s color-tolerance specification and ask how consistency is managed across deliveries. A matching CCT label alone is insufficient.
Why does facade lighting look different in photographs than in person?
Camera exposure, white balance and image processing can change the recorded brightness, contrast and color. Automatic settings may also change between photographs, making two lighting options appear more different—or more similar—than they actually are. For comparison photographs, use consistent exposure and white-balance settings and retain the original files. Treat photographs as supporting records rather than calibrated measurements of lighting performance.
Why do LED facade lights sometimes show bands or flicker on video?
Some LED systems produce rapid changes in light output that interact with a camera’s exposure and sensor readout. The resulting footage may show bands or flicker even when the lighting appears steady to an observer. Shutter adjustments can reduce certain artifacts, but performance depends on the camera and lighting configuration. If filming matters, test the intended frame rates, shutter settings, dimming levels and color scenes before approving the equipment.
Does a published LED lifetime mean the entire facade luminaire is guaranteed to last that long?
No. An LED lumen-maintenance projection describes how the light source’s output is expected to decline under specified conditions. It does not establish the service life of every component in the complete luminaire. Drivers, seals and optical components introduce additional failure mechanisms. Ask which component the published rating covers, what evidence supports it, and what the separate product warranty actually includes.
How should buyers compare facade lighting quotations with different fixture quantities?
Compare the total installed scope against the same agreed lighting outcome. Request separate prices for luminaires, power supplies, control equipment, mounting accessories, cabling, installation access, programming and commissioning. Identify exclusions and recurring charges. A lower fixture count may shift costs into more demanding mounting or installation work. Ask each supplier to explain quantity differences and show how its proposal meets the same project requirements.
Does dynamic facade lighting require a permanent internet connection?
Not necessarily. Controllers designed for standalone operation can store and run programmed lighting sequences locally. A local control network is different from an internet connection; internet access may be needed for cloud monitoring, remote updates or externally supplied content. Confirm which functions remain available if the internet connection fails, particularly when a proposal includes cloud services. Offline operation depends on the selected system and configuration.
Discuss Your Facade Lighting Requirements
Share your building elevations, material information, available mounting positions, key viewing points and intended lighting effects with CRANE. Include operating schedules and control requirements where available.
These details provide a useful basis for discussing suitable fixture configurations and the information required before final selection.

Ethan Lee
Product Selection
Explore Lighting Products for Facade Projects
Compare product families by the lighting effect, mounting position and architectural detail you need to achieve.
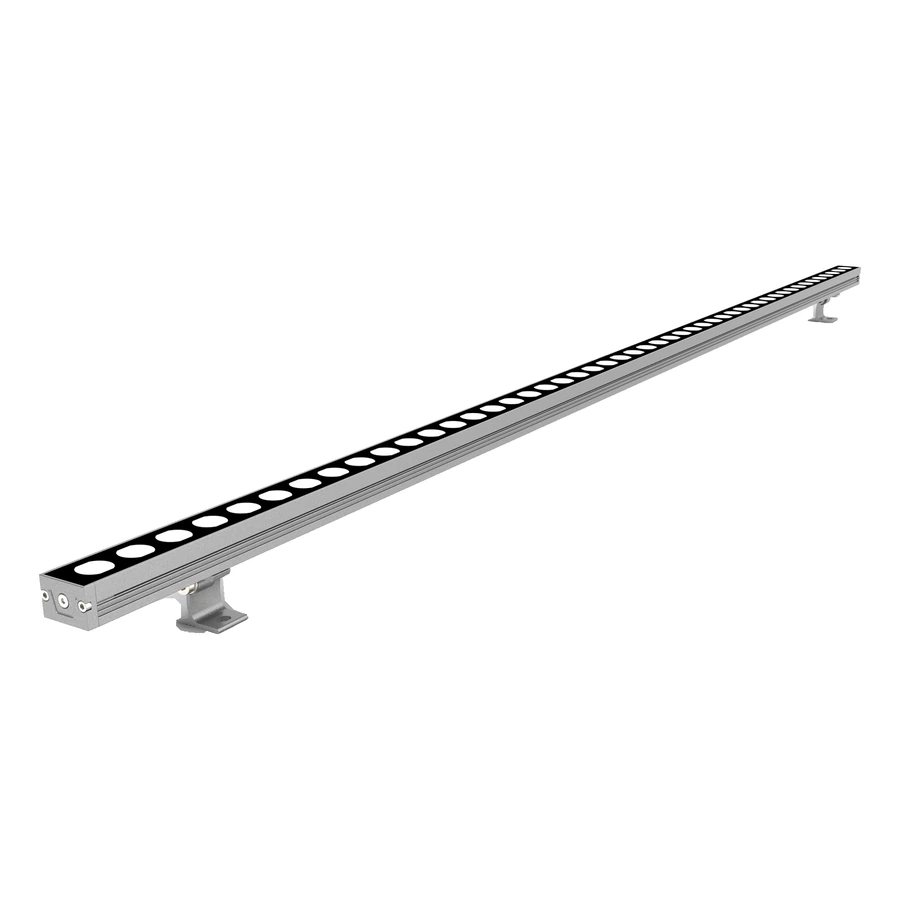
LED Wall Washer Lights
Architectural wall washer lighting for building facades, vertical surfaces and outdoor structures.
Browse Wall Washer Lights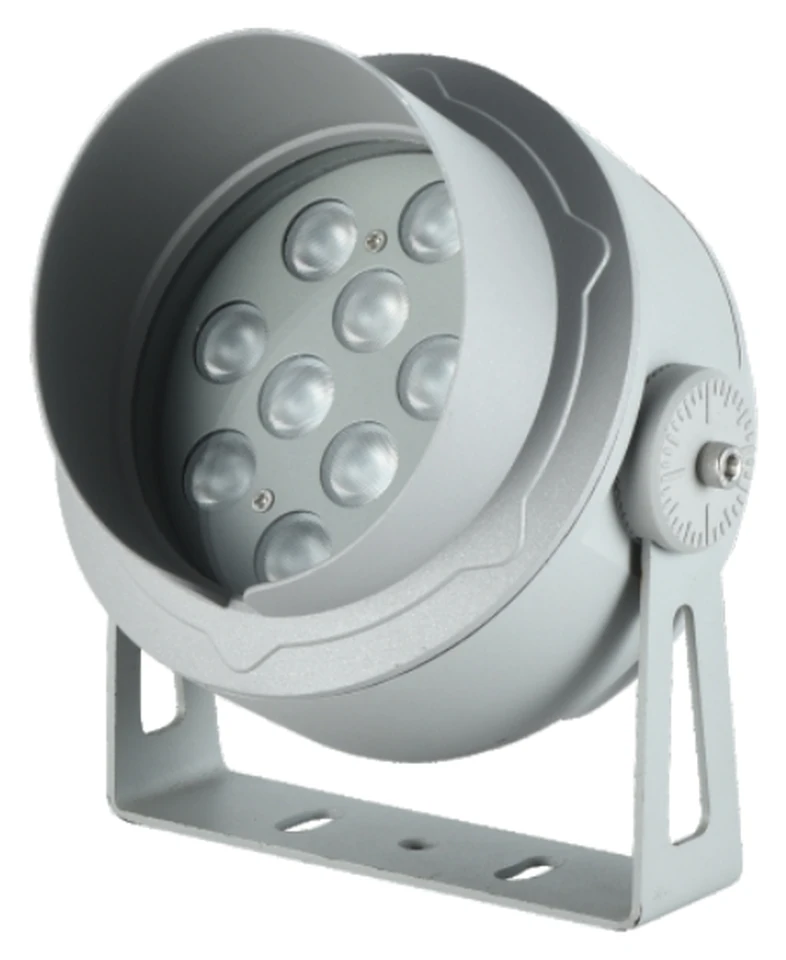
LED Flood Lights
Architectural LED flood lights for facades, landmarks, landscapes and outdoor lighting projects.
Browse Flood Lights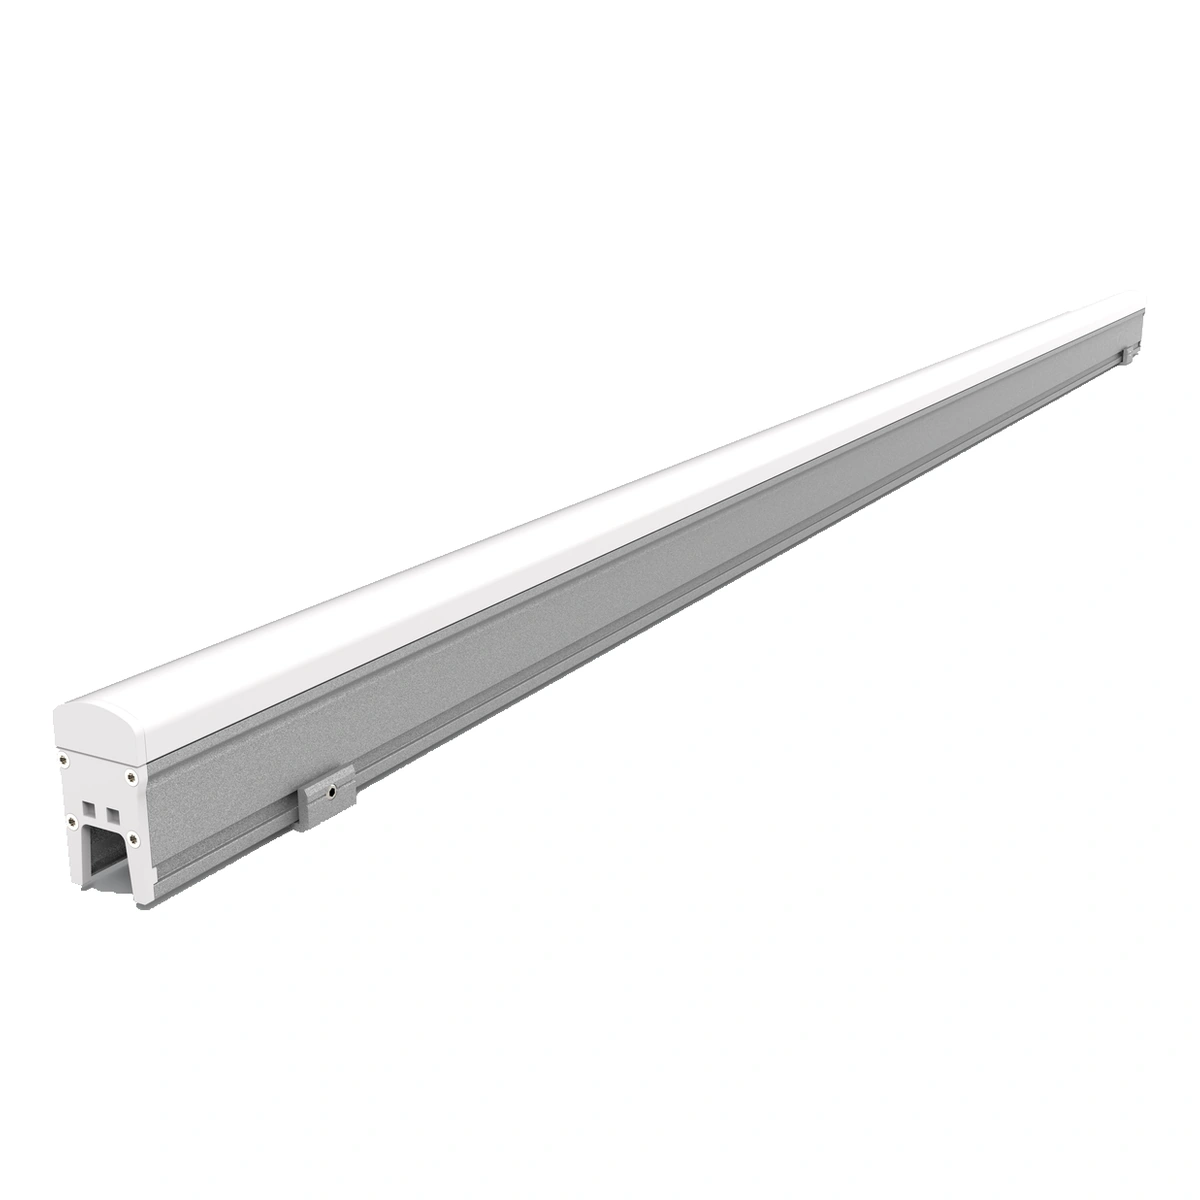
LED Linear Lights
Architectural LED linear lights with model-specific PC covers, glass faces or aluminium aperture-style profiles.
Browse Linear LightsExplore Facade Lighting Solutions
Related Project
See Facade Lighting in Practice
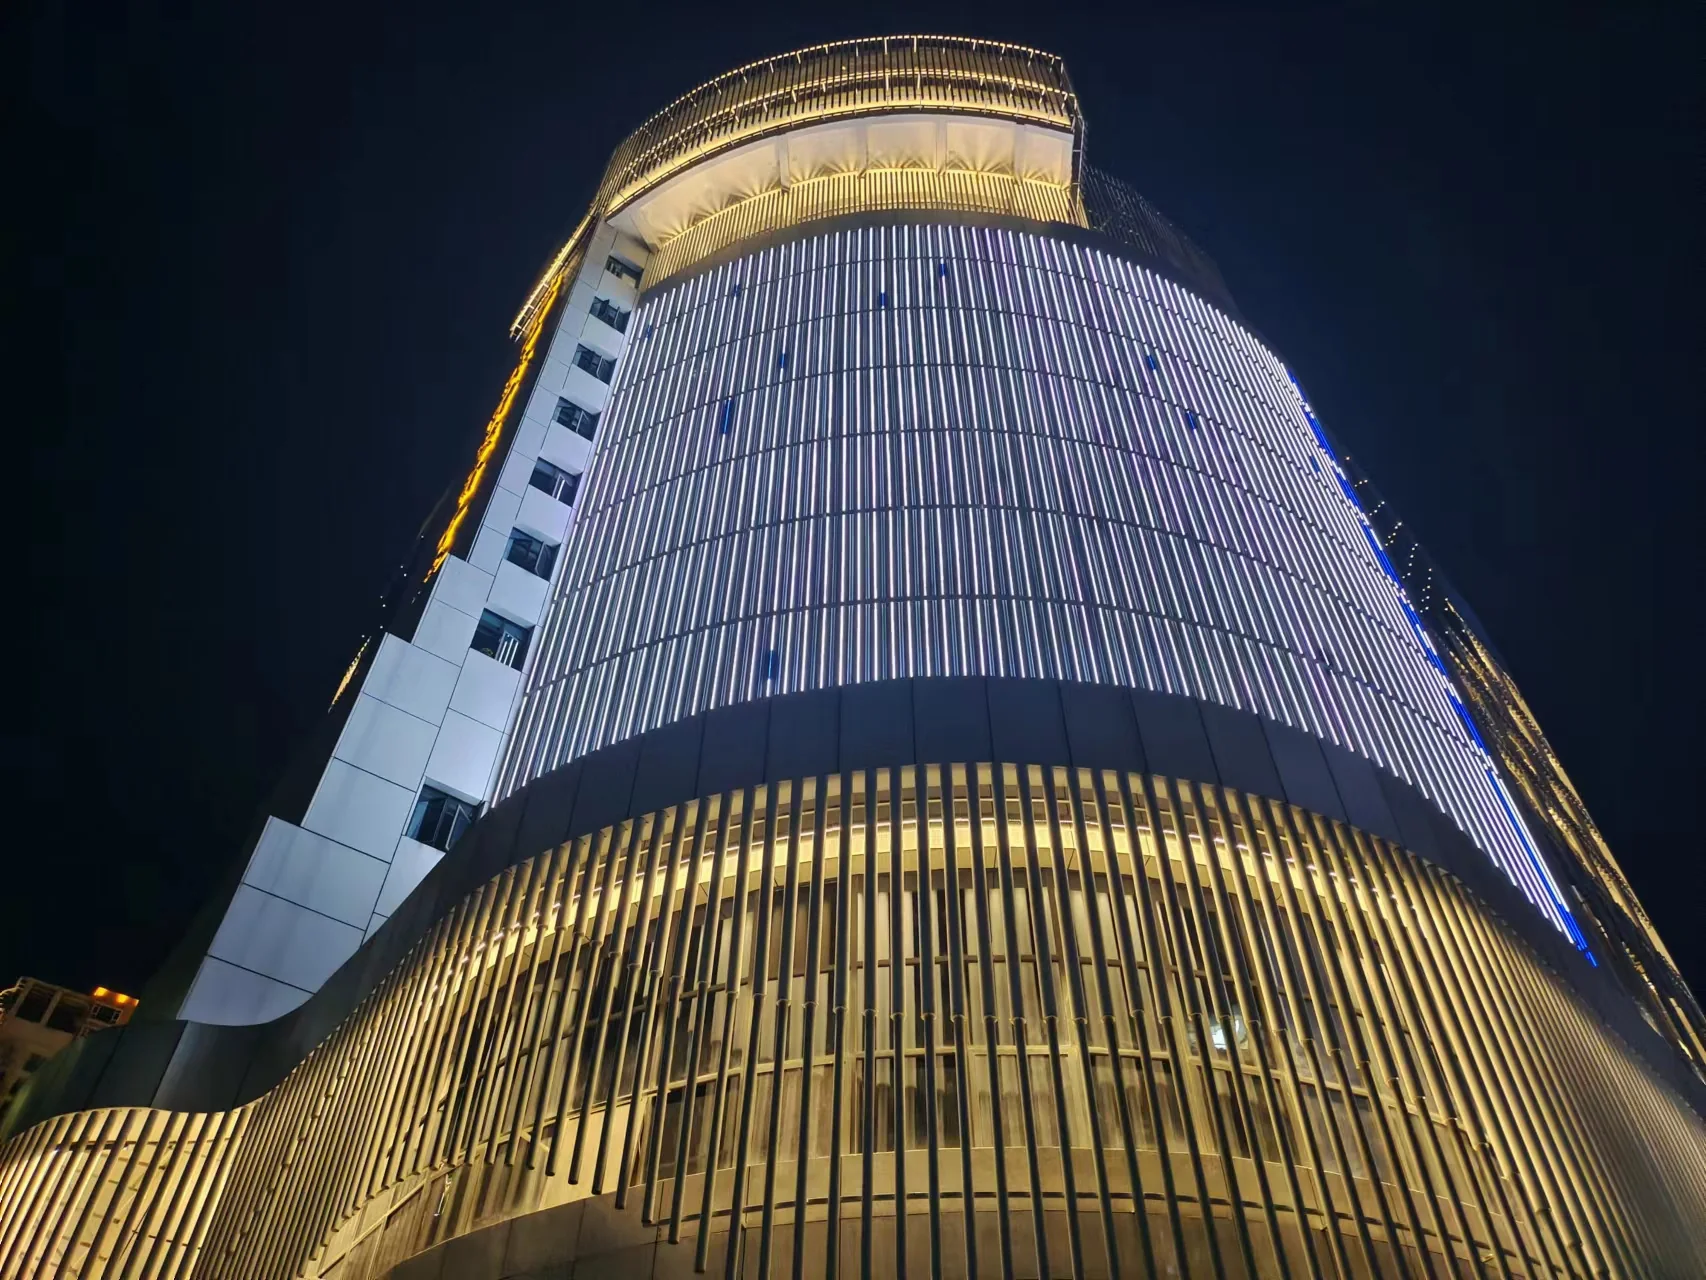
Changsha Theatre and Art Centre
Programmed LED lighting creates moving patterns across the theatre’s curved exterior. Linear accents keep its architectural outline visible after dark.
View the Lighting ProjectProject Inquiry
Discuss Your Facade Lighting Project
Tell us about your facade, desired lighting effect and project requirements.