
A reliable outdoor lighting connection starts with a connection system selected for its actual exposure, electrical circuit and cable. Check the connector or enclosure, seals, cable entries, cable and termination as an assembly under the manufacturer’s specified conditions. A luminaire’s IP rating does not automatically apply to a separate connector, junction box or driver enclosure.
Have a qualified electrical professional design, install and inspect the system in accordance with the product instructions and applicable local requirements. Isolate the circuit and verify absence of voltage before work. The checklist below supports planning and inspection; it does not replace the instructions for the exact equipment.
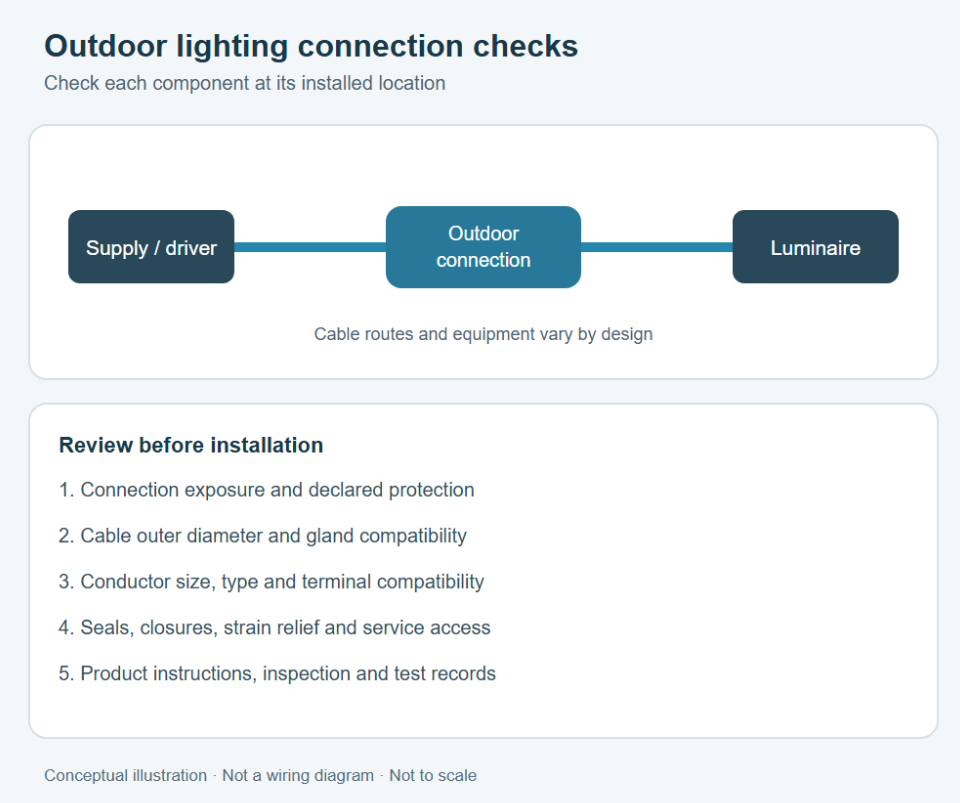
Select the connection for its location
Map every connection on the drawing and record whether it is sheltered, exposed to rain or washing, liable to temporary pooling, buried, or intended for immersion. Consider maintenance access, cable movement, sunlight, chemicals and temperature as well. Ask the manufacturer whether the complete assembled system is suitable for those conditions.
| Site condition | Selection question | Evidence to request |
|---|---|---|
| Exposed to rain or washing | What water exposure and cleaning method will reach the connection? | Declared protection for the assembled connection and the permitted cleaning instructions. |
| At a low point where water may pool | Could the assembly be temporarily immersed, and for how long? | The applicable immersion rating, stated conditions and installation restrictions; assess jet exposure separately. |
| Intended for prolonged immersion | Is the exact assembly intended for the depth, duration and water conditions? | Manufacturer’s declared immersion conditions and compatible cable and assembly instructions. |
| Buried or inaccessible after installation | Is the system approved for burial and how will it be inspected or replaced? | Burial suitability, mechanical protection and documented installation and maintenance requirements. |
IP codes classify enclosure protection under defined test conditions. An immersion rating by itself does not establish protection against powerful water jets. Neither an IP code nor a watertight description establishes suitability for burial, corrosion, UV exposure or every chemical. Verify these separately for the complete installed assembly.
Match the cable, seal and terminal
Cable outer diameter determines whether a gland or seal can grip the cable jacket within its specified range. Conductor cross-sectional area and construction determine whether the electrical terminal accepts the wire. These are different measurements. Confirm both against the actual cable and connector documents before purchase. A connector that accepts a conductor electrically may still be unable to seal that cable’s outer jacket.
Check the number of cores, conductor material and construction, voltage and current ratings, cable shape, jacket material and environmental suitability. Verify whether the connector accepts the cable as supplied, including any ferrules or preparation required by its instructions. Do not assume that plugs from different brands or similar-looking product families are compatible.
For a connection system that uses a gel-filled box, heat-shrink or a separate junction enclosure, use only the component combinations and installation methods the manufacturer specifies for the application. Check whether a gel-filled assembly may be reopened or must be replaced after service.
Installation checklist
Before work, identify the exact cable, connector, gland, luminaire and driver. Obtain their current instructions and approved circuit drawing. Record the environmental exposure and the intended service location for each connection.
- Confirm the assembly. Check the declared electrical ratings and the environmental protection of the connector, mating parts, glands, seals and enclosure together. Confirm their compatibility with the specific cable and application.
- Prepare the work area. Isolate the circuit, verify absence of voltage using the approved procedure, and keep components clean and dry during assembly. Inspect the cable jacket, seals and housing for damage.
- Prepare the cable as specified. Follow the required stripping dimensions and tool instructions. Avoid damaging conductors and the outer jacket. Position the jacket and seals as directed by the manufacturer.
- Make the electrical connection. Follow the exact product wiring diagram and terminal instructions, including protective earth where required. Use the specified tools, tightening values and compatible conductor preparation. Do not infer conductor function from colour alone.
- Close and secure the assembly. Seat the specified seals, mate or close the connector fully, tighten glands and closures as instructed, and fit approved caps or blanks to unused entries. Provide strain relief where required without stressing the terminals or seals.
- Route and support the cable. Use the approved entry orientation and bend limits. Where appropriate and permitted, route the cable so water does not run directly into the entry, such as with a drip loop. Avoid unsupported loads and locations where water collects unless the assembly is suitable for them.
- Inspect and test. Check enclosure closure, cable support, identification and accessibility. A qualified person should carry out the electrical verification required by the design, product instructions and local rules before energizing, then check operation and record the results.
A visual inspection or successful switch-on cannot by itself prove the installed connection’s IP rating. Do not improvise a site water test; any test must be appropriate for the equipment, project specification and safety procedures.
Coordinate the luminaire and connection documents
For example, when assessing CRANE HL Slim-Width wall washers, the product page identifies the luminaire family and its electrical and mounting information. Before selecting a field connection, request the exact model’s cable specification, wiring diagram, compatible connector or junction arrangement, and installation instructions. Confirm the connector’s exposure and declared protection separately. The luminaire listing alone does not establish the rating of a field-made joint.
Give the supplier a drawing showing the luminaire, supply or driver, each connection, cable routes and expected water exposure. Add the selected control method, cable information and access constraints. Resolve any missing ratings, connector compatibility or installation details before the order is approved.
Frequently asked questions
Is electrical tape enough to waterproof a cable joint?
Do not assume that tape alone creates a suitable outdoor connection. Use a complete connection system whose manufacturer specifies it for the electrical circuit, cable and environmental exposure, following the applicable installation requirements.
Can I use an IP68 connector in a buried location?
Only if the manufacturer also permits the actual burial conditions and cable arrangement. Confirm soil conditions, mechanical protection, immersion limits and access requirements separately.
Can a connector rated for one cable diameter fit a different cable if I tighten it more?
Use a cable within the specified seal range and follow the specified tightening method. If the jacket is outside the range, select a compatible seal or connection system approved by the manufacturer.
Does a low-voltage lighting circuit need an outdoor-rated connection?
Assess its voltage, current and environmental exposure, and use components suitable for that circuit and location. Lower supply voltage does not establish that a connection can tolerate water or corrosion.
What should I do if an existing connection contains water?
Have a qualified person isolate and assess the affected circuit under the site’s safety procedure. Identify the water path and replace or repair components according to their manufacturers’ instructions before completing the required checks and re-energizing.
Can I reuse a gel-filled connection after opening it?
This depends on the particular system. Follow the manufacturer’s instructions for re-entry and replacement; do not assume that a used gel box or connector retains its original protection.
Discuss your outdoor lighting connections
Contact CRANE with the exact luminaire configuration, circuit and control requirements, cable details, connection locations and expected exposure. Request the matching wiring and installation documentation and confirm the proposed field-connection arrangement before installation.

Ethan Lee
Project Inquiry
Discuss Your Facade Lighting Project
Tell us about your facade, desired lighting effect and project requirements.