Choose an LED wall washer by matching its light distribution and installed dimensions to the facade, then checking the complete electrical and environmental configuration. Building height and wattage alone are not enough to establish coverage, uniformity or suitability.
Start with the intended appearance, wall material and available mounting positions. Use those conditions to shortlist fixtures, compare configuration-specific photometric data, and test a representative section before approving the order. The result should be a defined luminaire configuration with supporting documents—not simply a product family name.
Define the surface and the mounting position first
For a broadly even illuminated facade, evaluate wallwashing optics against the whole target surface. If the aim is to reveal relief and texture, a grazing arrangement may be more appropriate. A long housing does not establish which effect a fixture will produce.
Record the following inputs before requesting a recommendation:
| Project input | What to provide | How it affects selection |
|---|---|---|
| Target surface | Elevation, material, finish and areas to remain dark | Establishes the illuminated area and appearance to assess |
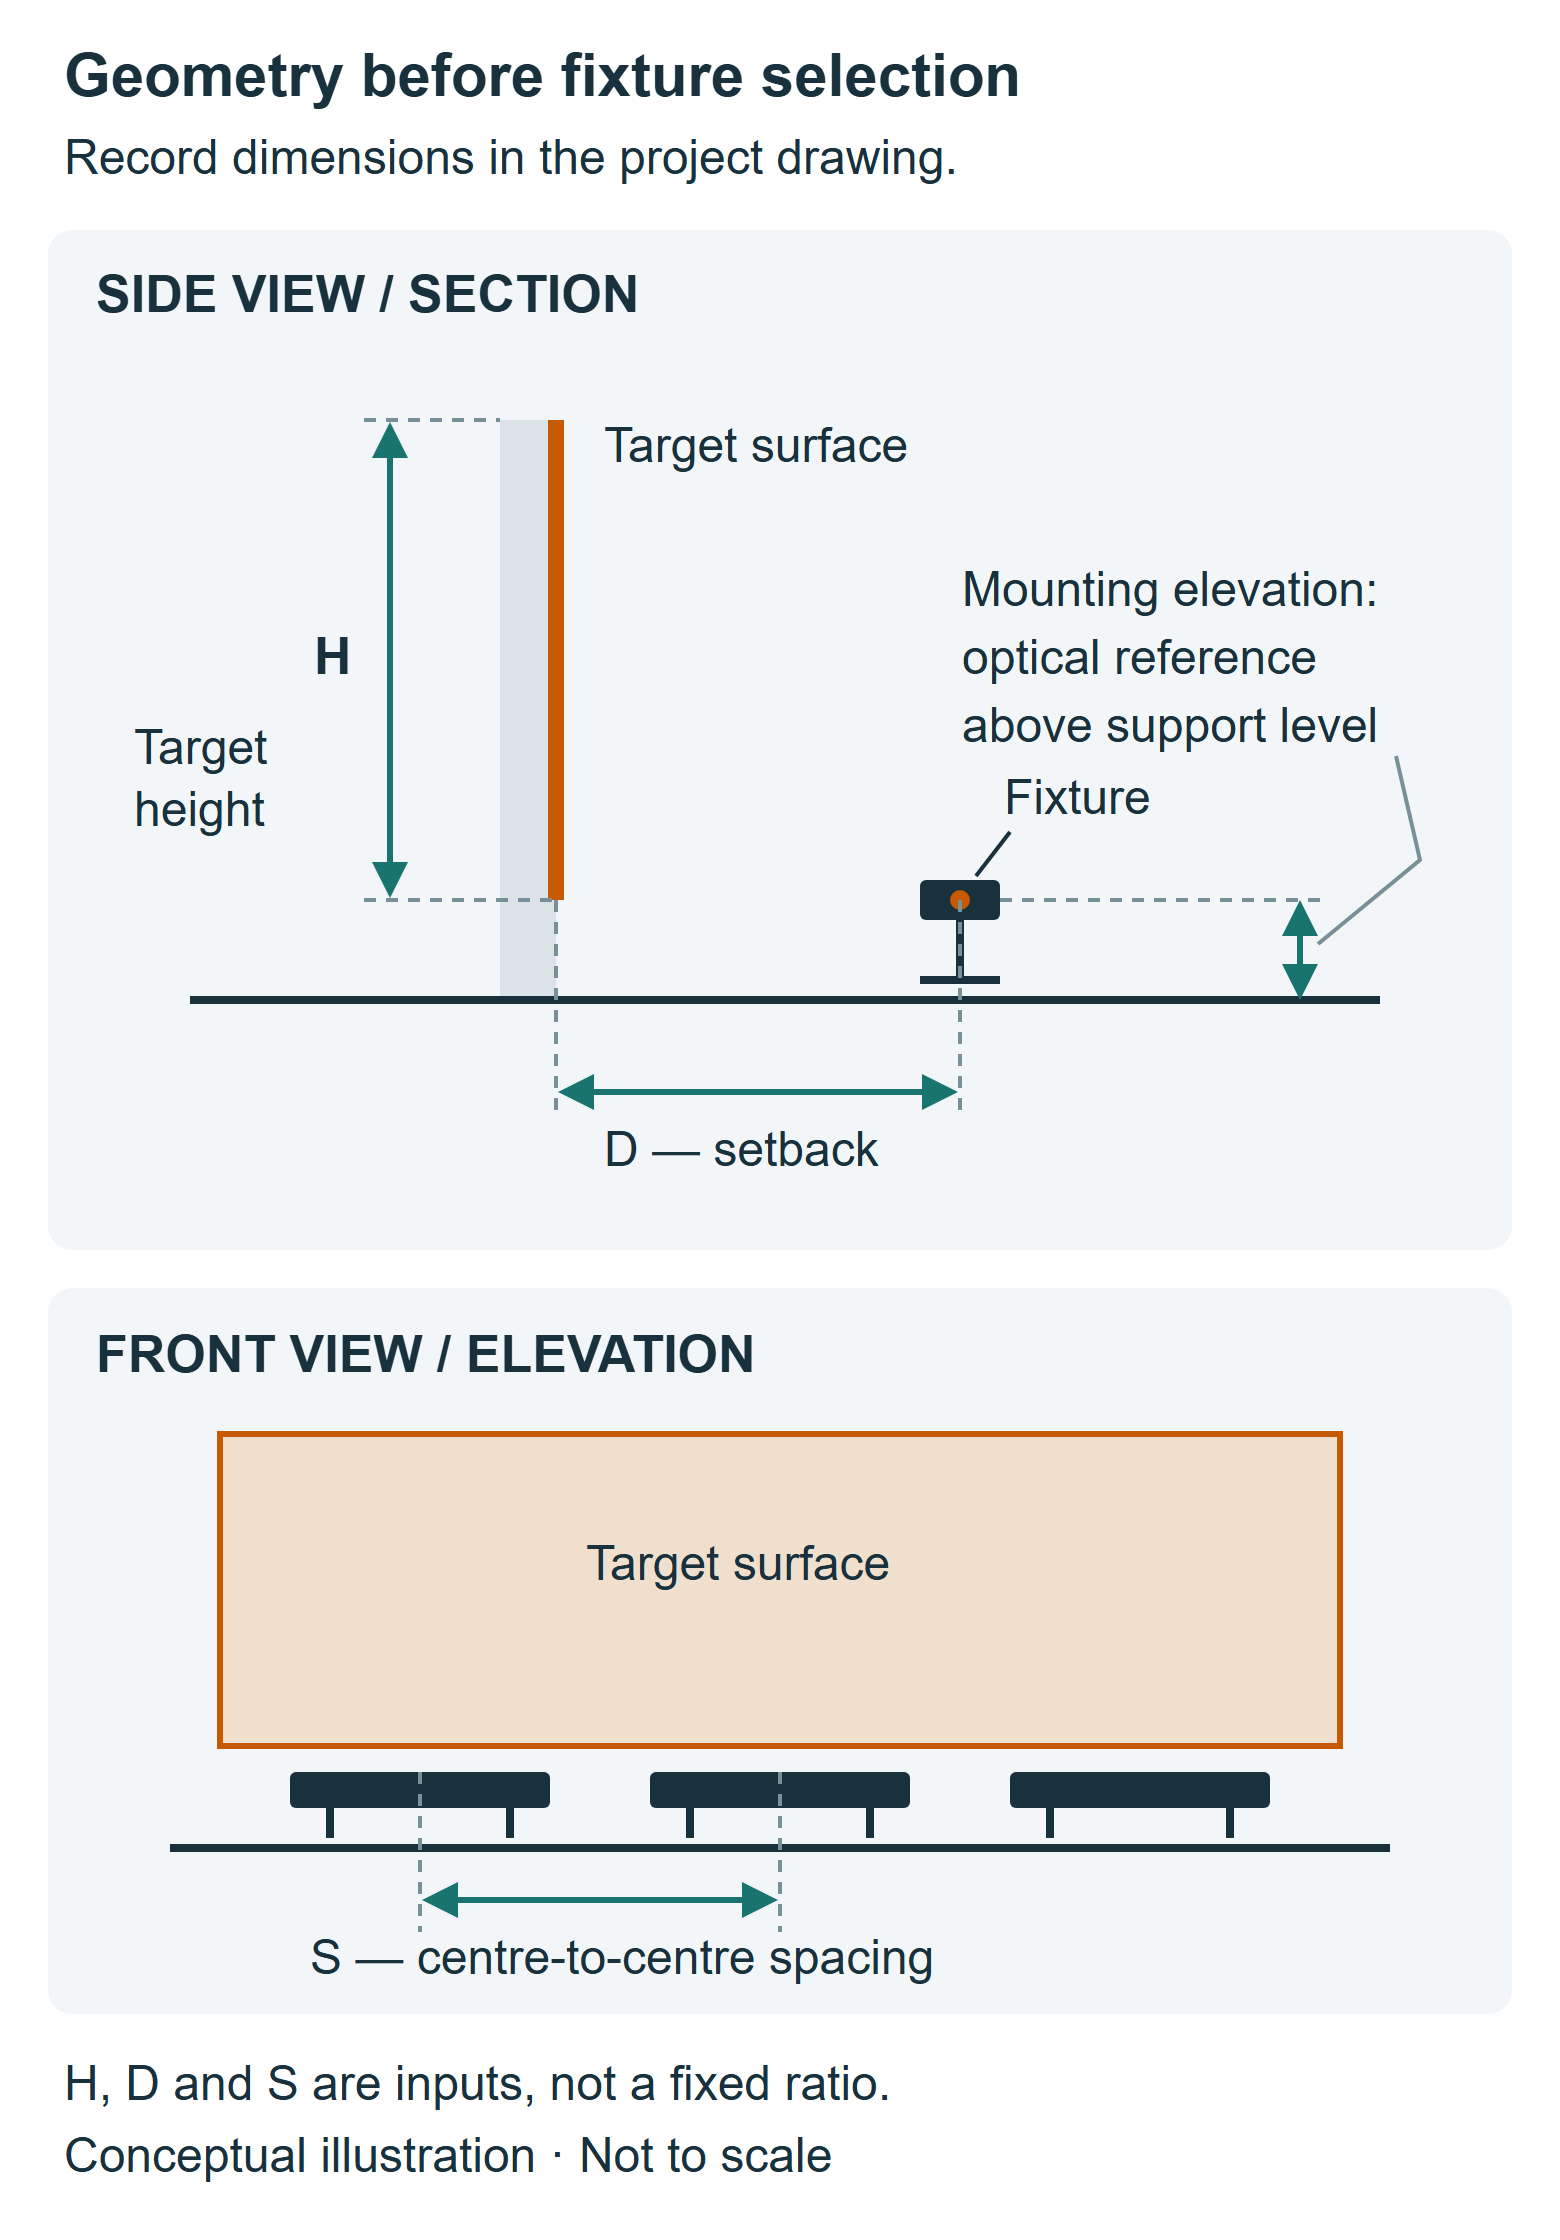
| Mounting geometry | Section showing setback, mounting elevation, ledges and obstructions | Determines whether the fixture can direct light onto the intended surface |
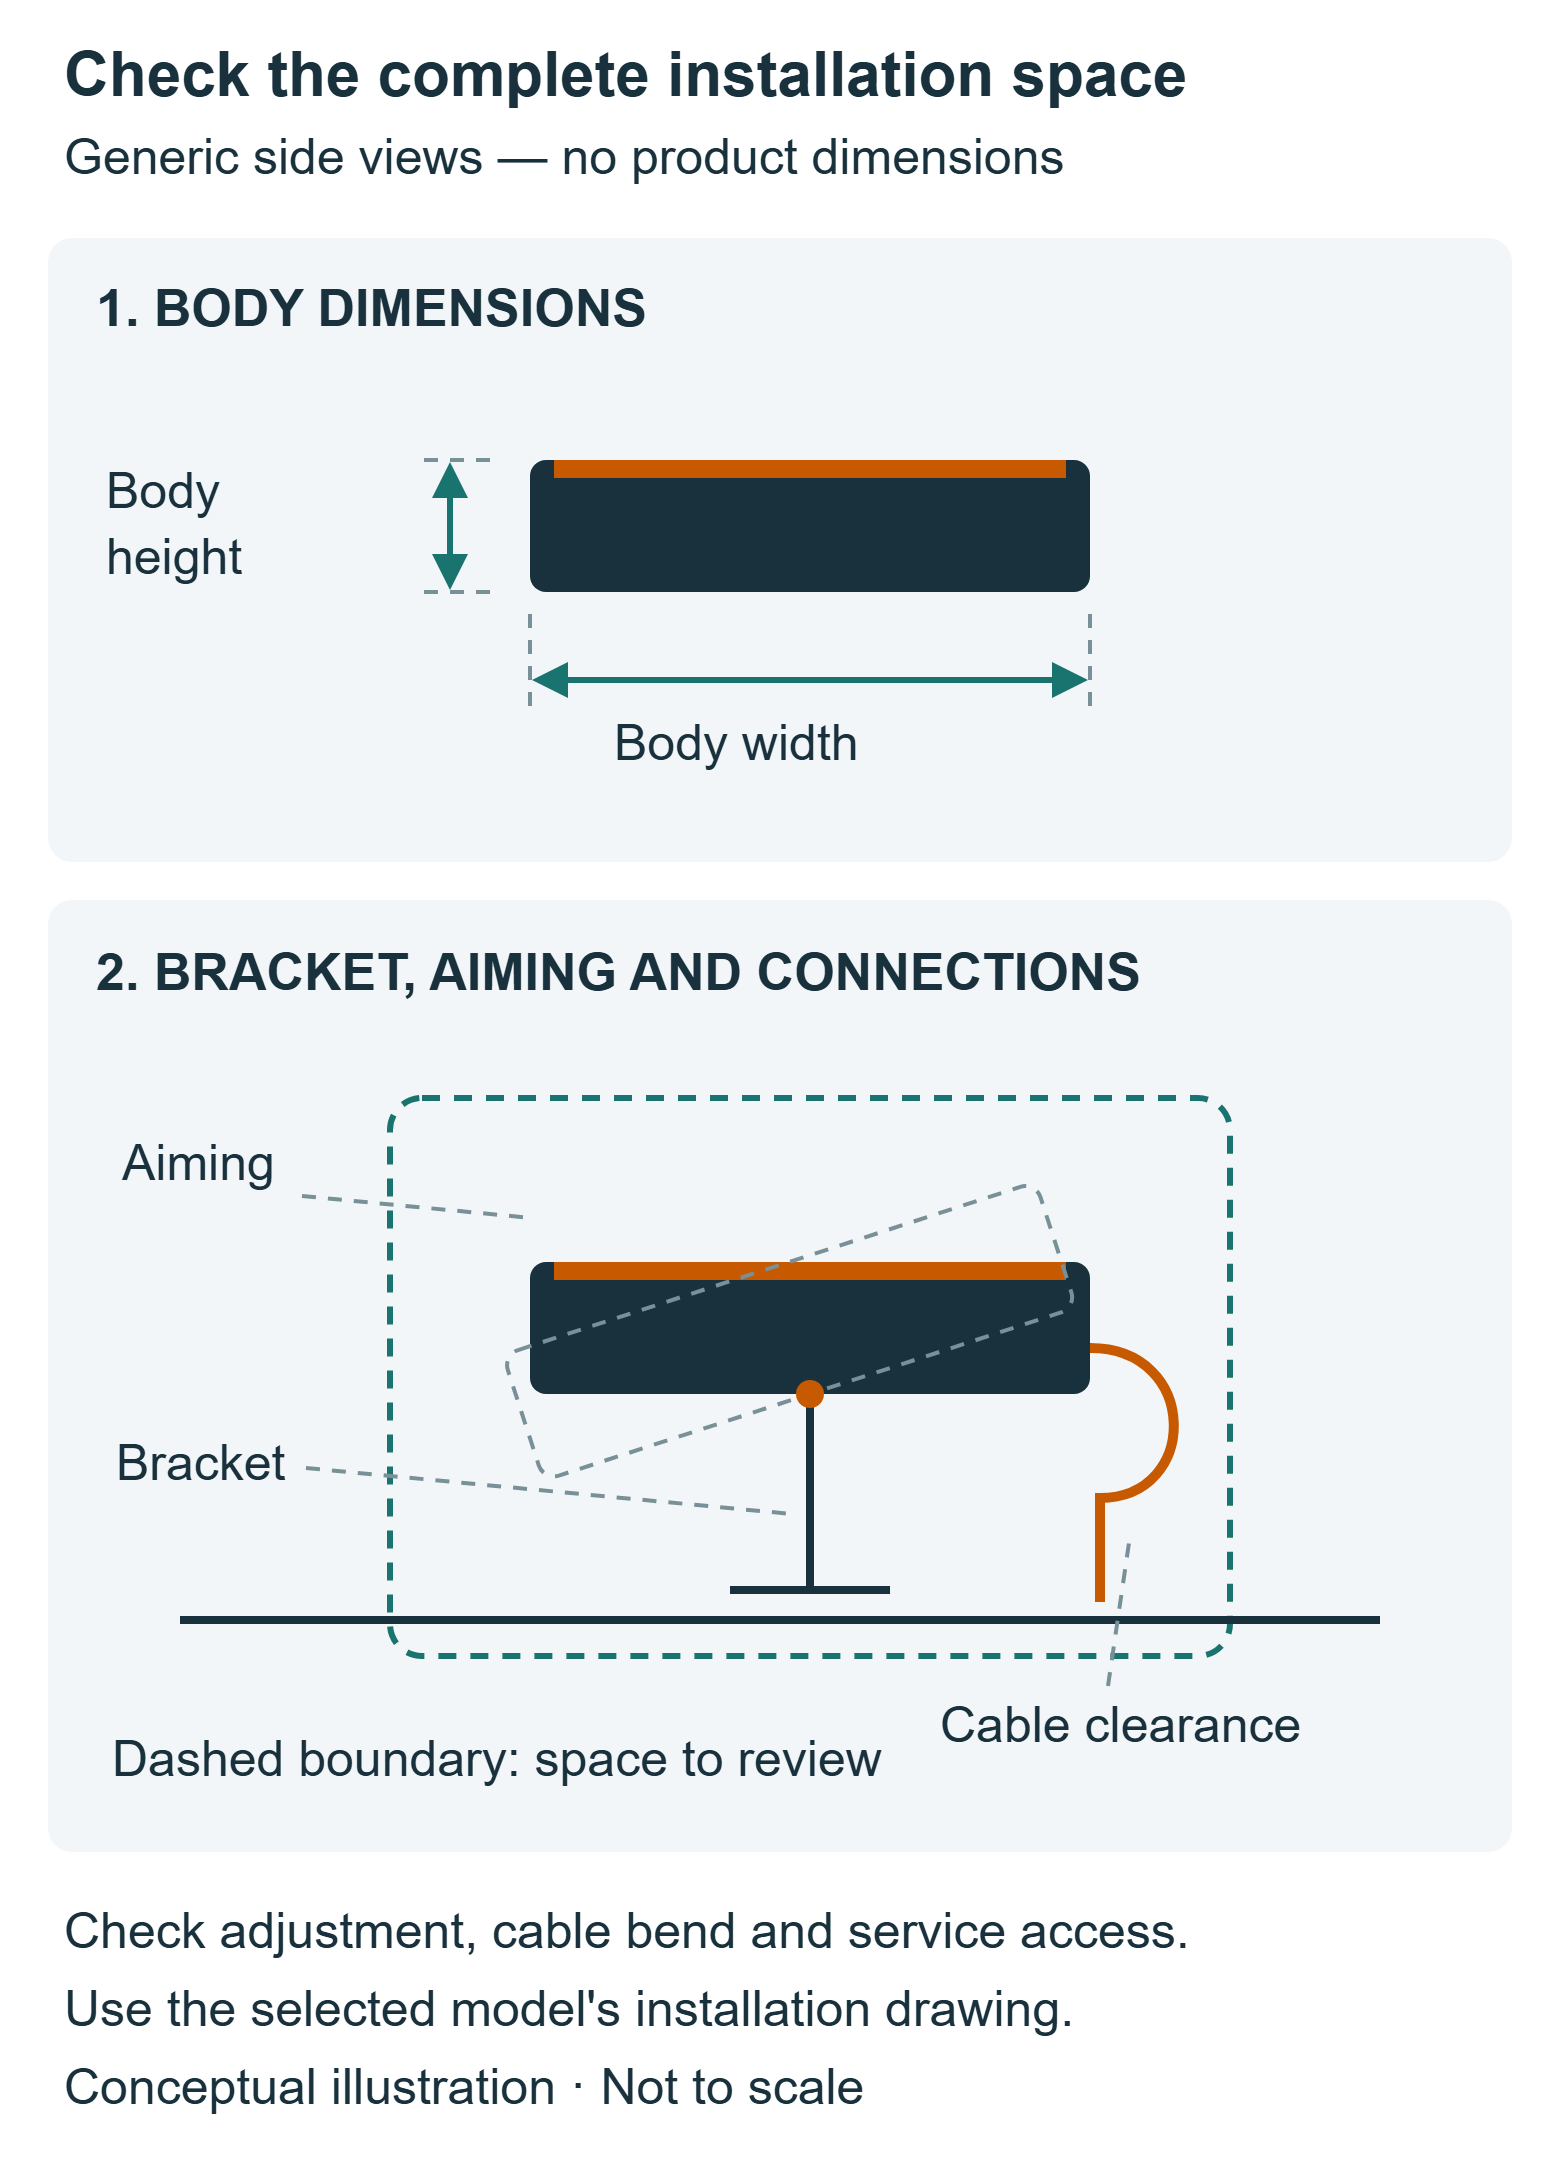
| Available space | Bracket location, cable exit, adjustment and service access | Eliminates housings that fit on paper but cannot be installed or aimed |
| Viewing conditions | Main viewpoints, nearby windows and pedestrian routes | Identifies directions in which exposed sources or spill light need attention |
| Operating requirement | White or changing colour, operating hours and dimming needs | Defines the light engine and control configuration to evaluate |
For transparent glazing, first establish whether the actual target is a mullion, opaque spandrel or another architectural element. Treating clear glass as a diffuse masonry wall can produce an unsuitable shortlist.
Compare distribution before increasing power
The useful question is how much light reaches each relevant part of the facade from the proposed position. A higher-power version may increase output without correcting a bright base, dark upper wall or unwanted light beyond the building.
Ask for an IES or LDT photometric file that matches the proposed model, optic and light configuration. These files describe light distribution for calculation; a conceptual beam preview is not a substitute.
For an optic described by two beam angles, confirm which axis runs along the fixture and which runs across it. Also check its orientation in the calculation model. An unequal pair of angles does not, by itself, establish an asymmetric distribution: a beam may have different widths in two planes while remaining centred about its optical axis.
Use the distribution to investigate three separate questions:
- Does light reach the upper and lower limits of the target area?
- Do adjacent fixtures produce acceptable transitions, including near the ends of a run?
- Does the arrangement direct unwanted light toward windows, observers or beyond the facade?
If the available setback is very small, request evidence for that geometry. Do not apply a spacing rule from another optical system simply because both products are called wall washers.
Read output figures in their proper context
Different quantities answer different questions:
| Quantity | What it tells you | What it does not establish alone |
|---|---|---|
| Input power, watts | Electrical demand at the stated operating condition | Facade brightness or useful coverage |
| Luminous flux, lumens | Total visible-light output | Where that light goes |
| Luminous intensity, candelas | Output in a particular direction | Uniformity across the entire wall |
| Illuminance, lux | Light arriving per unit area of the surface | The surface’s observed appearance |
| Luminance, cd/m² | Light leaving a surface toward a viewing direction | Perceived brightness independently of surroundings and adaptation |
A dark wall and a light wall can look different under the same illuminance. Texture and reflective finishes can also change the result. Assess the actual material rather than treating a lux plot as a complete visual prediction.
Compare output at the intended operating condition. A figure for one white-light configuration does not automatically describe an RGBW fixture running a saturated colour or its white channel alone. Request the applicable output and power data instead of multiplying a family-level efficacy figure by every available wattage.
For white lighting, specify the required correlated colour temperature (CCT) and colour-rendering information. Review a material sample under the proposed light before accepting a nominal CCT as the final appearance decision.
Check the installed envelope, supply and exposure
Body dimensions are only part of the space requirement. Include brackets, the fixture’s movement while aiming, connectors and cable bends. Confirm that the selected angle can be locked and that the unit can later be removed without dismantling unrelated facade components.
For a low-voltage system, assess power-supply locations and the actual cable routes. The allowable fixture count on a power circuit and the allowable arrangement on a control link are separate checks. A compatible protocol name alone does not establish the complete system layout.
For outdoor exposure, check the ingress protection (IP) rating of the selected model and the installation conditions required to maintain it. Connections, termination caps and other system components need appropriate protection too. An enclosure rating does not establish corrosion resistance, acceptable operating temperature or suitability for standing water.
Record the site’s exposure to salt, cleaning chemicals, irrigation and water accumulation. Ask for relevant material, finish and installation evidence where those conditions apply. Keep detailed wiring and protective-device design within the project electrical design.
Shortlist CRANE models by their actual differences
Two products within the same family can require different electrical arrangements. The following catalogue details provide starting points for a configuration review; they do not establish a verified lighting result for a particular building.
HL Compact: investigate limited mounting space
The HL Compact LED Wall Washers group includes three single-row profiles. For HL-XQ-3223, the page lists a body of 995 × 32 × 23 mm and an installed height of 67 mm. That distinction matters when assessing a shallow recess or ledge.
Shortlist this group where the available space favours a compact profile. Then check the complete mounting drawing, cable clearance and photometry for the exact optic. Protection is model-specific: HL-XQ-3524 is listed as IP66, while HL-XQ-3223 and HL-XQ-3624 are listed as IP67.
LM 66 Multi-Row: separate the electrical configurations
The LM 66 Multi-Row Architectural LED Wall Washers group offers 66 mm-wide formats. Its catalogue distinguishes LM-6632 and LM-6632D, listed at 24 V DC and IP65, from LM-6642 and LM-6642D, listed at 220 V AC and IP67.
Consider this group when its format fits the mounting detail, then evaluate the appropriate electrical version. Do not infer greater usable reach from the number of rows, or transfer voltage and protection ratings between models. Request the matching drawing, confirmed supply requirements and configuration-specific photometric file before specifying.
Both product pages identify their optical previews as illustrations rather than measured photometry. Use the technical-document request options to obtain the evidence needed for the proposed layout.
Use a pass, revise or hold decision before ordering
Review each candidate against the same project inputs. A missing document is a reason to hold a decision; a demonstrated mismatch is a reason to revise the configuration or reject the candidate.
| Review gate | Evidence needed | Decision if the evidence is missing or unsuitable |
|---|---|---|
| Physical fit | Installation section with housing, bracket, adjustment and cable clearance | Hold for dimensions; revise if the required aiming position cannot be achieved |
| Optical suitability | Matching photometric file and a calculation using the proposed geometry | Hold for data; revise optics or layout if coverage or spill is unacceptable |
| Visual acceptance | Representative material and a repeatable nighttime sample arrangement | Revise if texture, colour transitions or visible sources conflict with the brief |
| System compatibility | Confirmed voltage, power arrangement, control mode and connection details | Hold for coordination; reject an incompatible configuration |
| Exposure and maintenance | Applicable product documentation and a workable access plan | Hold where environmental suitability or replacement access remains unresolved |
For example, suppose a fixture’s bare body fits a recess but its bracket cannot tilt to the required position. Increasing wattage cannot resolve that mechanical constraint. The next action is to change the mounting detail or shortlist a different format, then repeat the optical assessment.
Likewise, if a calculation gives acceptable average illuminance but leaves unacceptable dark bands between fixtures, the average is not sufficient evidence for approval. Review the spatial results and the agreed visual brief before increasing output.
This decision method is a project-review framework, not a product certification or a universal acceptance standard.
Validate the selected configuration and keep the records aligned
Compare candidates using consistent geometry, surface assumptions, calculation areas and operating states. Record the maintenance assumptions used in any prediction of future performance. Agree the acceptance criteria with the project team rather than adopting an arbitrary universal lux target.
Use a sample arrangement that includes adjacent fixtures and a relevant detail such as a joint, corner or projecting ledge. Review it from the agreed viewpoints at the intended dimming and colour settings. Record fixture positions and settings so the accepted effect can be reproduced. Photographs help document appearance, but exposure settings prevent them from replacing measurements or direct observation.
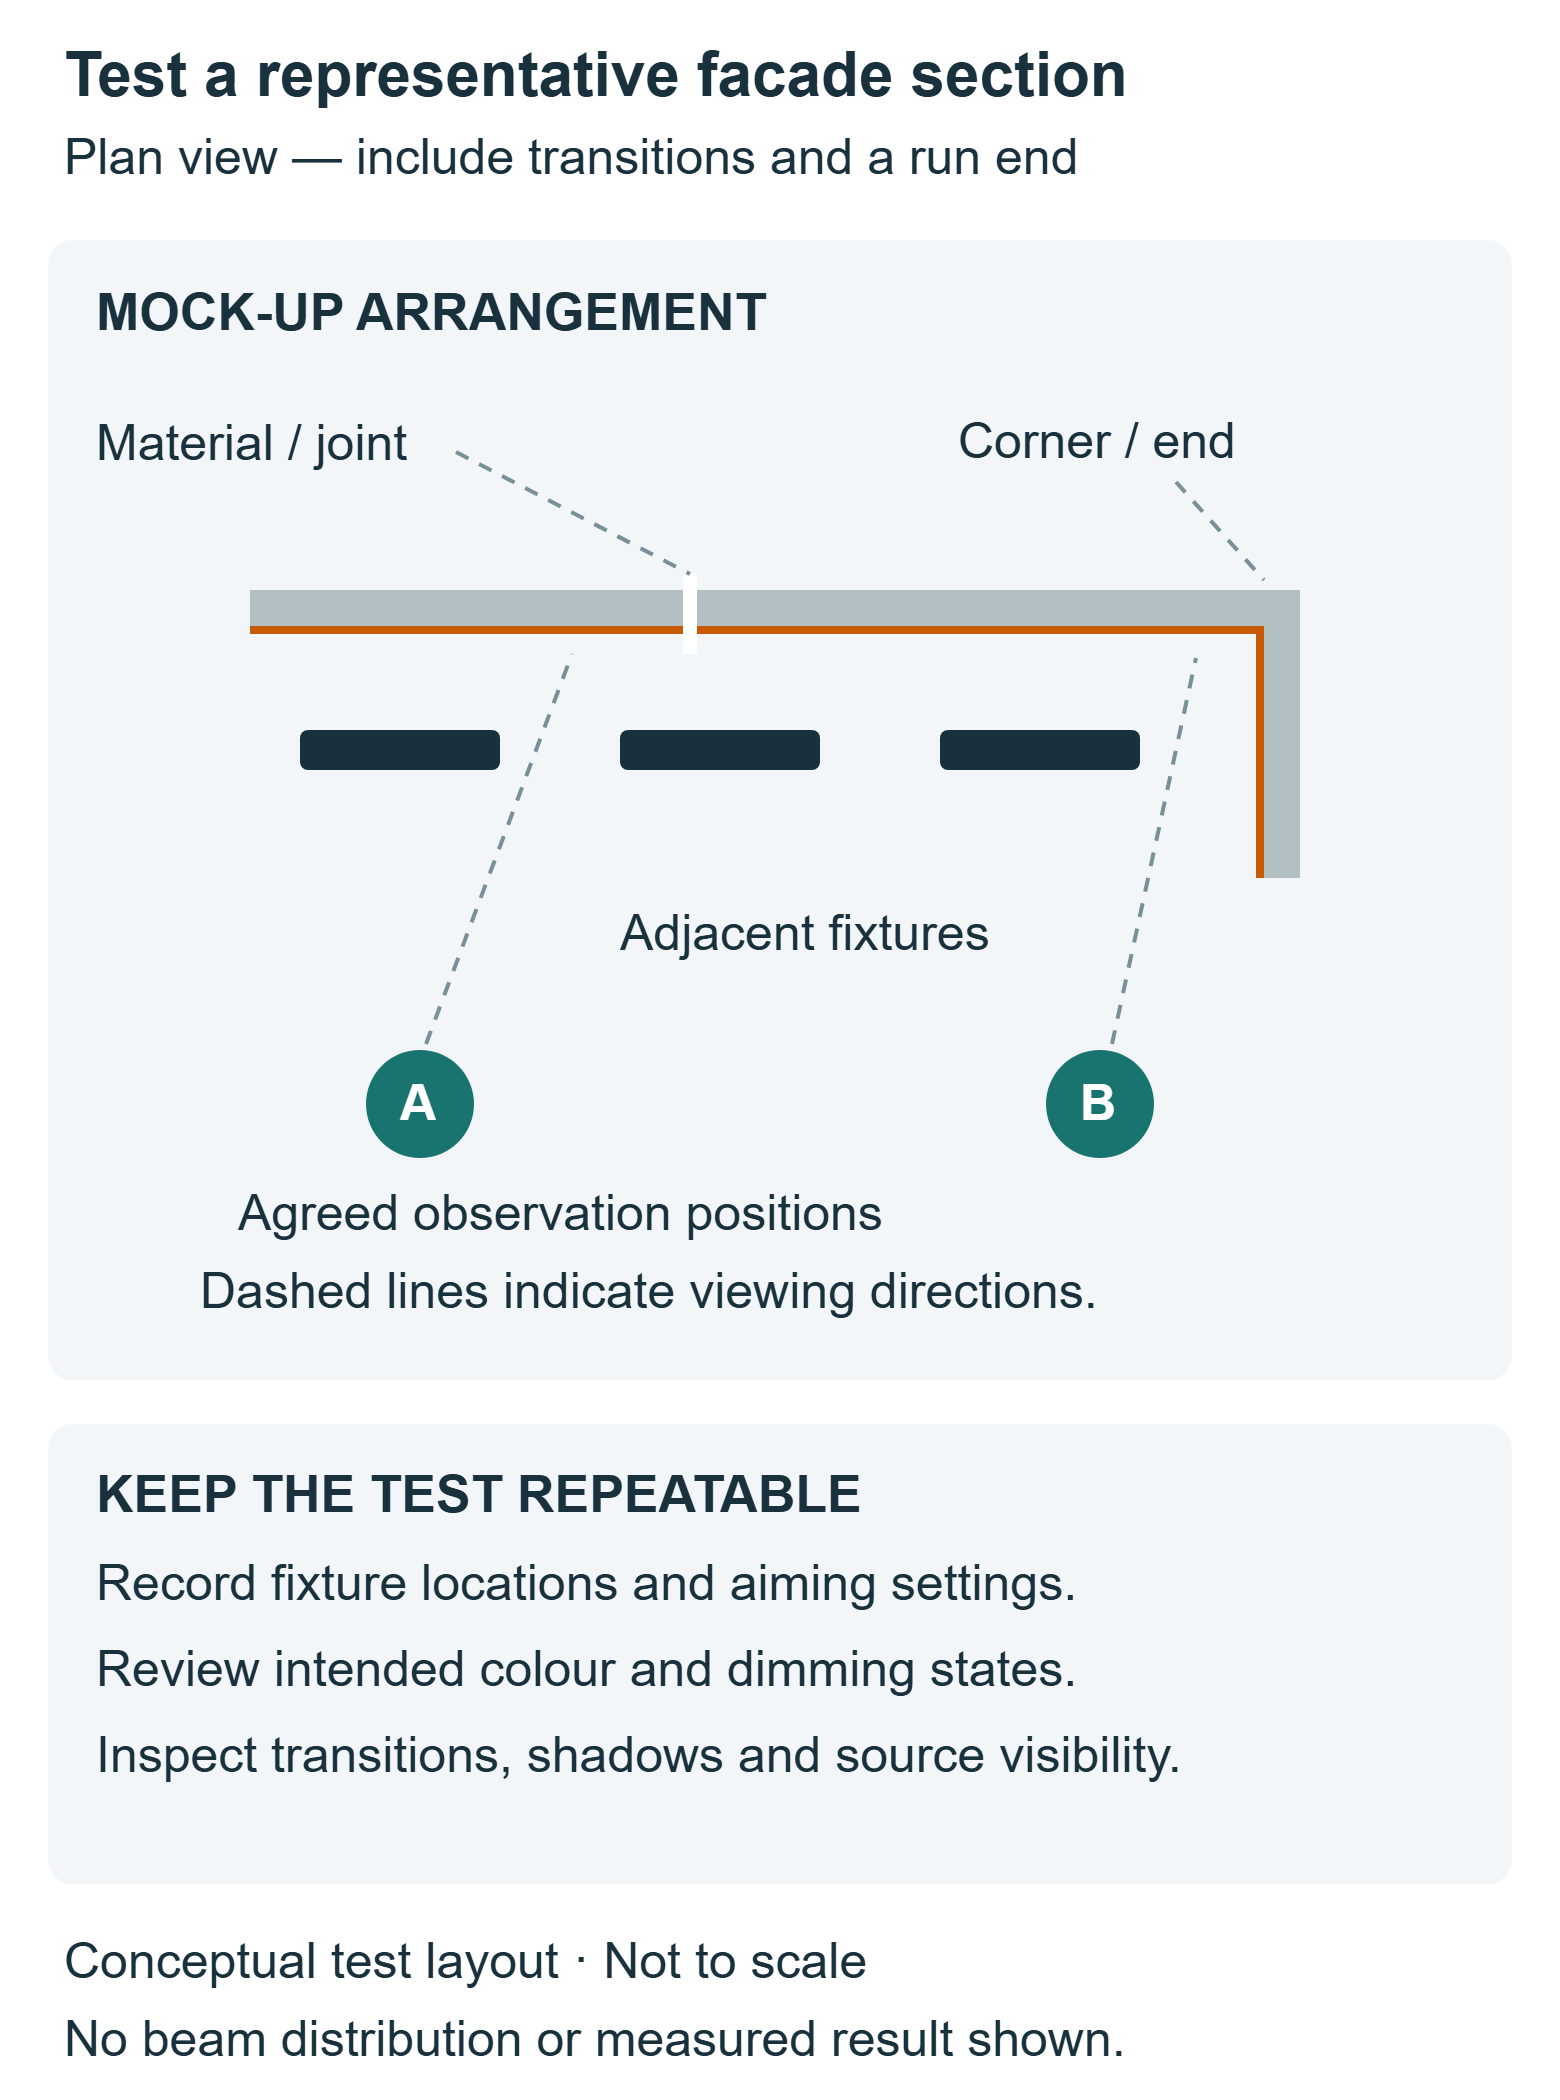
Before purchase, align the quotation, approved sample and technical submittal around one configuration record:
Complete model code → length and housing → optic and orientation → light configuration → power and supply → control mode → bracket and connections → supporting document revisions.
Resolve substitutions against this record. Matching only the family name or wattage leaves too many variables unverified.
Frequently asked questions
Can a rigid wall washer be cut to fit the remaining space?
Do not assume it can be treated like a cuttable LED strip. Cutting may affect the enclosure, optical assembly, wiring and sealing. Ask whether an approved shorter version is available, or revise the layout using documented lengths. Site modification requires explicit manufacturer instructions for that product.
Can I combine white fixtures from different suppliers if both are labelled 3000 K?
The same nominal CCT does not establish identical chromaticity or colour rendering. Differences can become visible where illuminated areas meet. Request colour-consistency information and compare samples on the same material before mixing suppliers in a continuous run.
What should I specify if the facade will be filmed?
Include the intended camera frame rates and shutter settings in the brief. LED modulation can interact with camera capture and produce banding even when the light looks steady to an observer. Test the proposed driver and fixture combination at the intended dimming levels; do not assume that a generic dimming claim establishes camera compatibility.
How should spare fixtures be handled for a phased project?
Keep the approved configuration and document revisions with the procurement record. Ask the supplier about future availability and whether later batches can be matched, rather than assuming a model name will remain unchanged. Decide the spare quantity from maintenance access, replacement lead time and the consequences of a visible mismatch; there is no universal percentage.
How can quotations be compared when one includes only the luminaires?
Use a shared scope schedule covering fixtures, power supplies, controls, cables, connectors, brackets and commissioning responsibilities. List exclusions and proposed deviations separately. Compare the cost of the complete agreed arrangement before treating a lower fixture price as a lower project cost.
Does a warranty period prove that the facade will maintain its appearance for that long?
No. Review what the warranty covers and how claims are handled. Ask separately for applicable output-maintenance and colour-maintenance evidence, installation conditions and replacement terms. A warranty duration alone does not define an acceptable change in the appearance of an illuminated facade.
Discuss your wall washer configuration
Send CRANE the facade elevation, mounting section, surface material, intended effect and available supply and control information. Include any restricted installation space or sensitive viewing directions so the product configuration discussion can focus on suitable candidates and the technical documents needed for review.

Ethan Lee
Product Selection
Explore Lighting Products for Facade Projects
Compare product families by the lighting effect, mounting position and architectural detail you need to achieve.
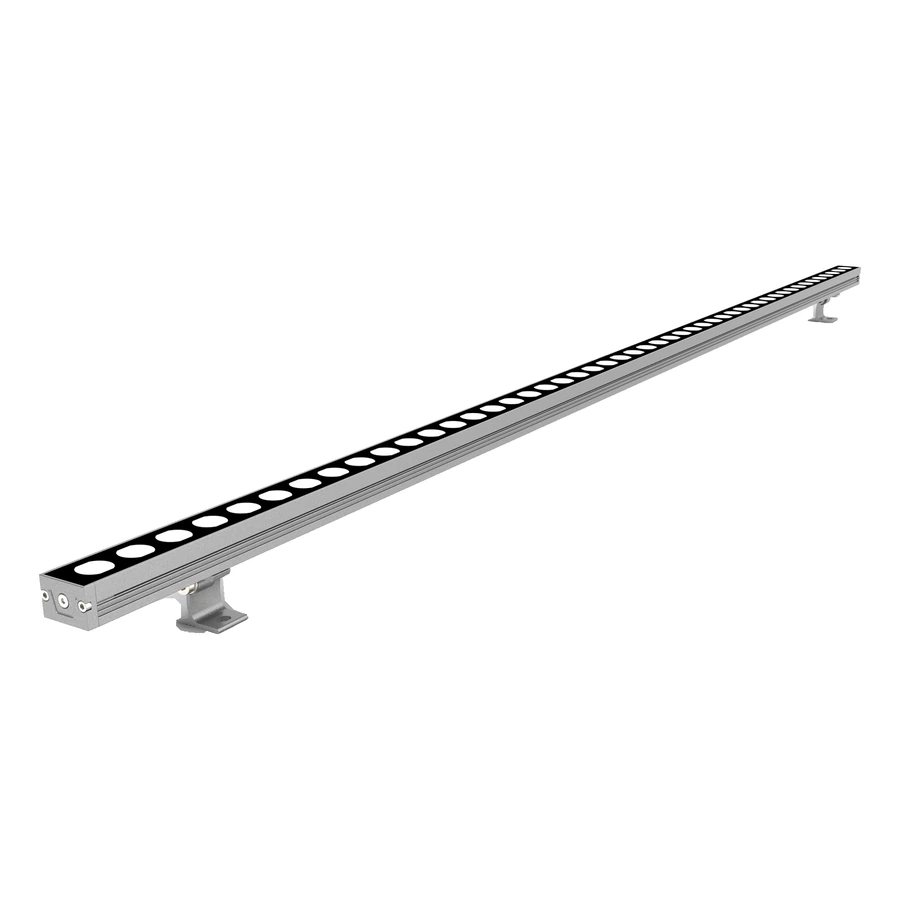
LED Wall Washer Lights
Architectural wall washer lighting for building facades, vertical surfaces and outdoor structures.
Browse Wall Washer Lights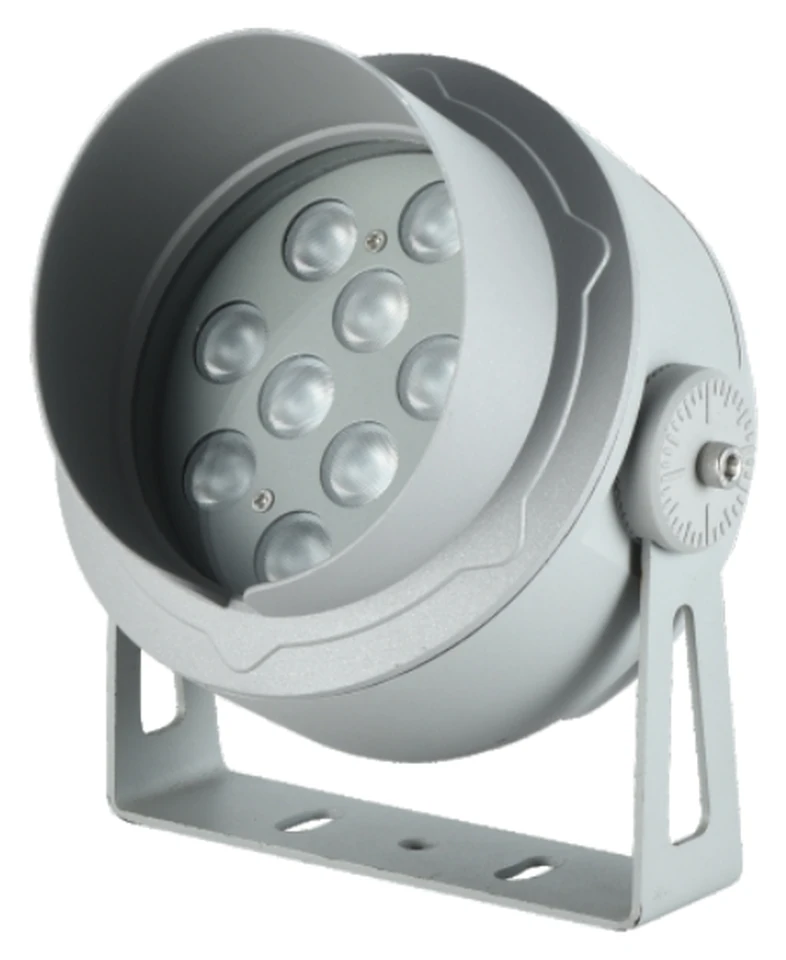
LED Flood Lights
Architectural LED flood lights for facades, landmarks, landscapes and outdoor lighting projects.
Browse Flood Lights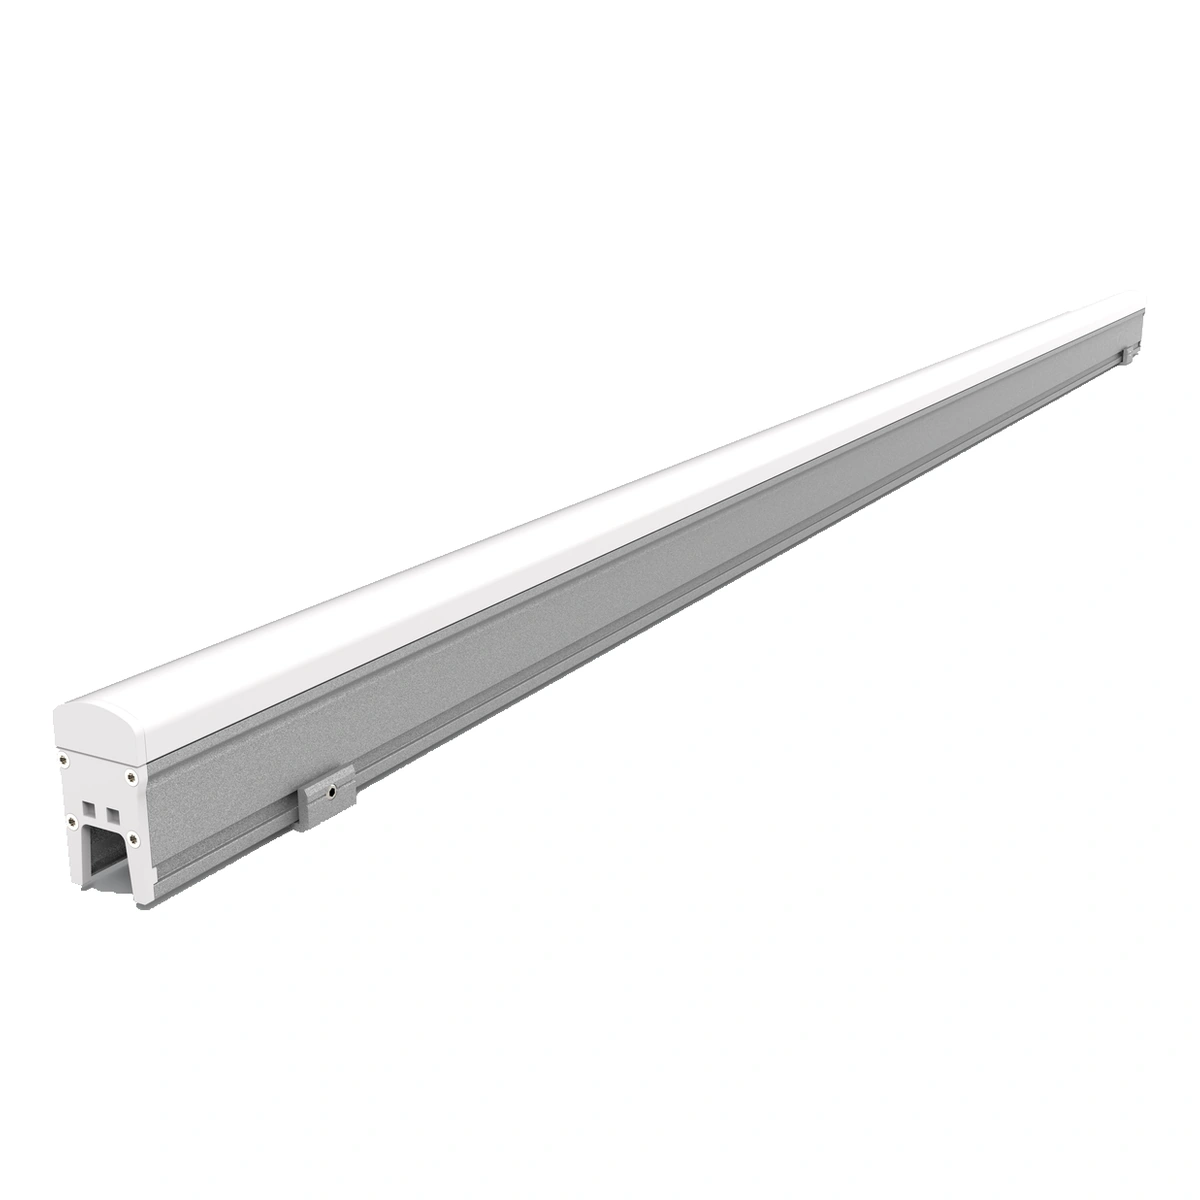
LED Linear Lights
Architectural LED linear lights with model-specific PC covers, glass faces or aluminium aperture-style profiles.
Browse Linear LightsExplore Facade Lighting Solutions
Related Project
See Facade Lighting in Practice
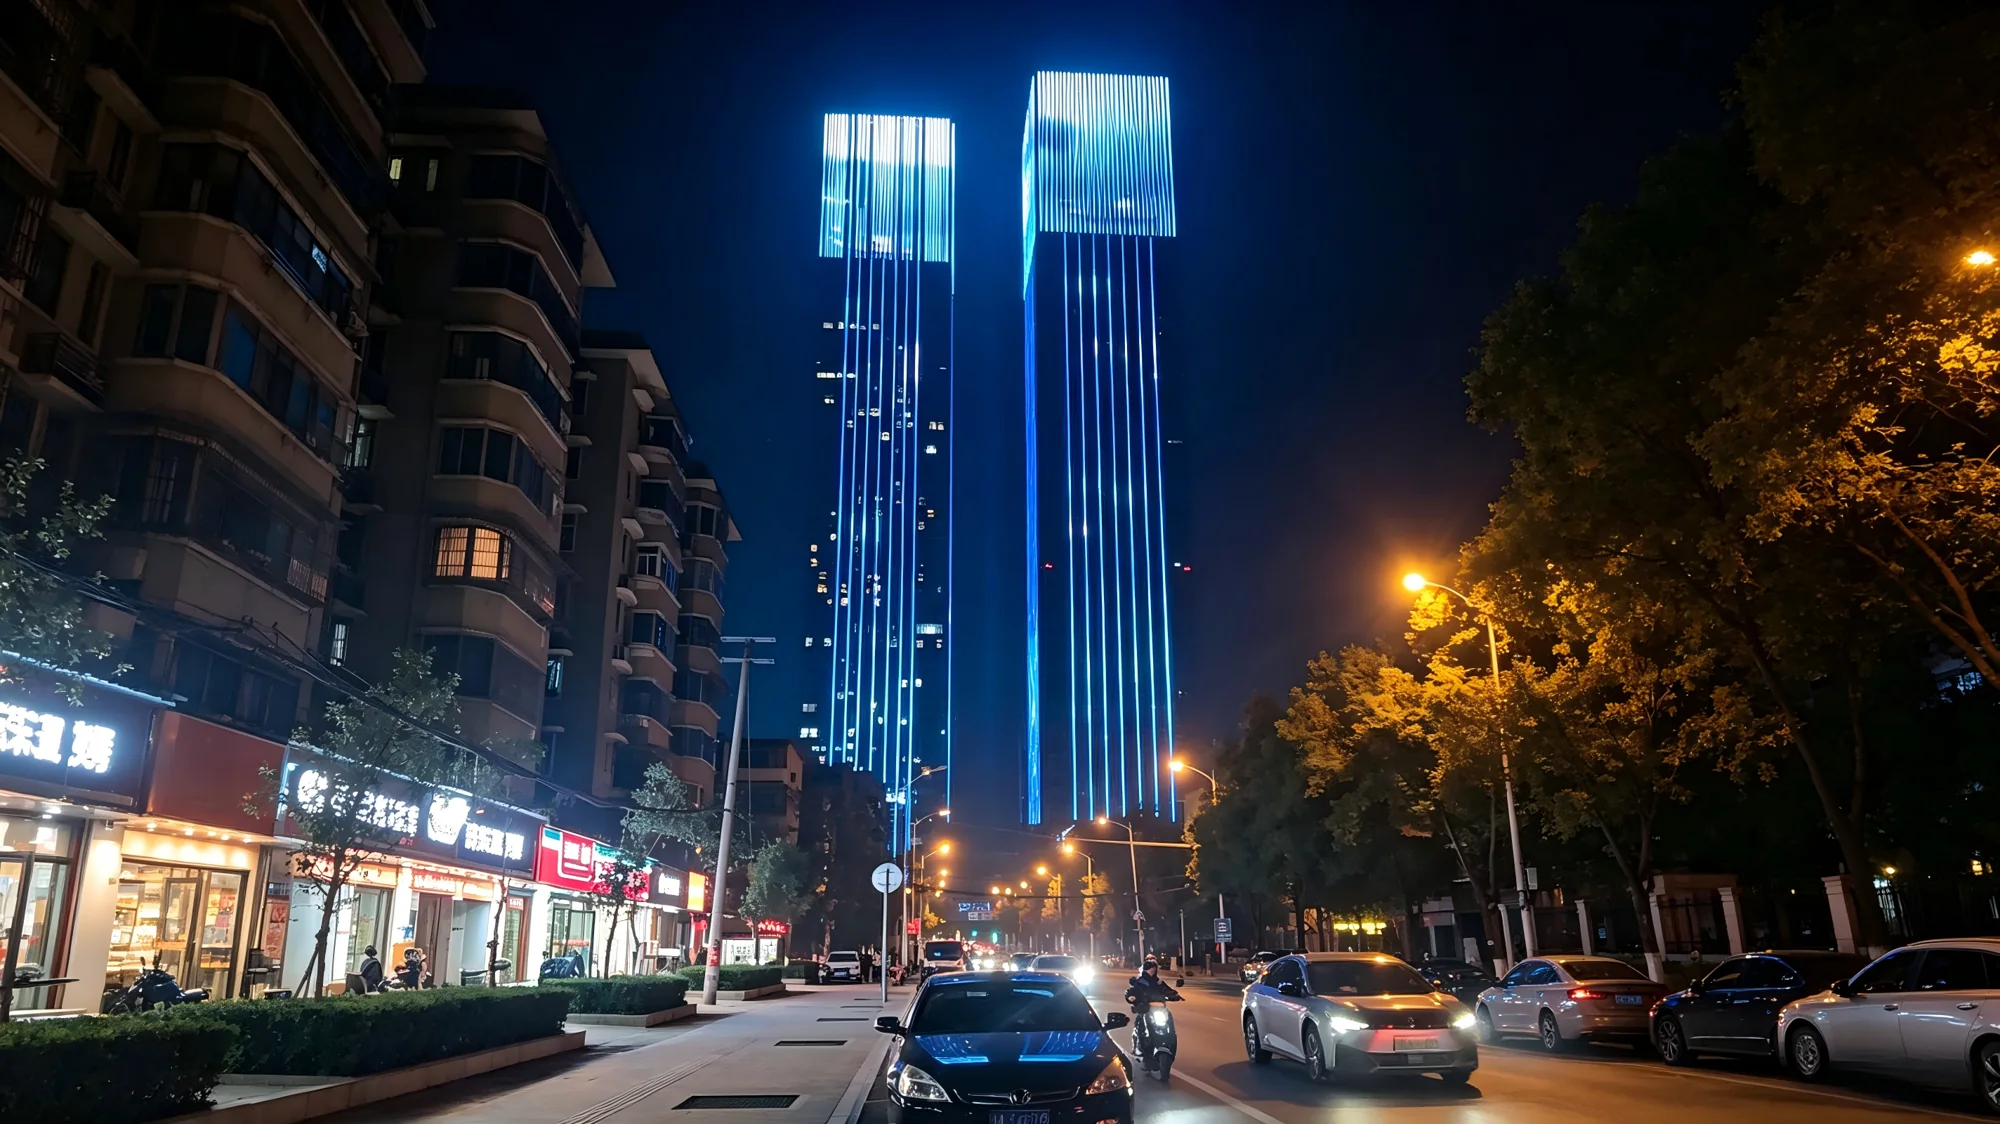
Changsha Jingtian Plaza
At Changsha Jingtian Plaza, vertical LED pixel lines follow the curtain-wall fins of two super high-rise towers. Graphics near the crowns and linear lighting along the podium give the development two distinct lighting scales, from the skyline to the street.
View the Lighting ProjectProject Inquiry
Discuss Your Facade Lighting Project
Tell us about your facade, desired lighting effect and project requirements.