Choose inground LED lights by checking the lighting task and the installation conditions together. The right fitting must produce the required light distribution, fit the complete recess, tolerate the actual exposure and loading, and remain accessible for maintenance. A high ingress protection (IP) rating or a small housing does not establish all of those conditions.
For outdoor inground lighting, resolve water management and traffic exposure before committing to a model. Then compare optics, visible source brightness, installation dimensions and electrical configuration. This sequence helps avoid specifying a light that looks suitable in a catalogue but cannot be installed or maintained properly at the site.
Decide whether you need an uplight, a marker or light on the ground
“Inground” describes a mounting position, not a single lighting function. Recessed luminaires can highlight a vertical object, provide a visible orientation point or distribute light across a walking surface. These functions require different optical arrangements.
| Intended result | What to evaluate | What not to assume |
|---|---|---|
| Highlight a column, tree or sculpture | Distribution matched to the target, aiming capability and unwanted light beyond it | A small fitting will necessarily produce a small, controlled accent |
| Illuminate a wall | Suitable asymmetric or wallwashing optics, orientation and target-surface calculations | Any upward-facing circular light will wash a wall evenly |
| Mark an edge or route | Visibility of the marker from intended approaches, comfortable brightness and suitable surface integration | Visible markers provide sufficient light to reveal obstacles between them |
| Illuminate paving | Distribution across the ground and assessment of the required walking area | An upward beam is an effective substitute for pathway lighting |
For each location, describe the result before selecting the housing: “reveal the entrance column from the arrival route” is more useful than “install a recessed spotlight.” Keep decorative effects separate from any required task or safety lighting assessment.
Establish how water will behave at the recess
Treat the luminaire enclosure and the surrounding construction as separate parts of the water-management problem. Protection against water entering a fitting does not demonstrate that the recess, cable connection or installation housing can remain flooded under the site’s conditions.
Inspect the proposed position for runoff, irrigation, low points and potential flooding. In paving or concrete, establish where water entering the installation space can go. A pocket of gravel is not a demonstrated drainage solution if the surrounding construction prevents water from leaving.
The appropriate detail is product-specific. Some in-ground products require a drained installation arrangement, while certain purpose-designed soil-installation products are explicitly offered without a drainage connection. Follow the selected manufacturer’s instructions and their application limits; do not transfer an exception from another product family.
For a drained arrangement, request a section identifying the water path and its destination. Have the responsible contractor confirm how drainage will be checked before the works are closed. Use the specified acceptance method rather than adopting an arbitrary drain-down time from another manufacturer’s guide.
Where persistent water exposure is expected, obtain the permitted conditions for the exact fitting and connection system. If the available documentation does not cover the site, reconsider the position or installation concept before comparing higher-output models.
Separate impact protection from walk-over and drive-over suitability
Ingress protection, impact resistance and traffic loading answer different questions. An IK impact-resistance rating is not a vehicle-load rating, and a pressure-load figure without installation conditions is insufficient for approving a driveway location.
Record who and what can cross the fitting. A landscaped pedestrian area may still receive maintenance vehicles, trolleys or cleaning equipment. That occasional use belongs in the specification.
For vehicle exposure, ask the manufacturer to identify the permitted loading, installation support, tyre or contact conditions and any restrictions on vehicle movement. The foundation and housing can be part of the tested arrangement. A fixture described as drive-over should not automatically be treated as suitable for every wheel load or manoeuvre.
At pedestrian locations, review the finished surface as well as structural strength. Check trim height, edge transitions, wet slip performance and any accessible hot surface. LED technology alone does not establish that the glass remains cool enough for every contact situation. Request temperature information with its operating conditions, particularly where barefoot contact or children touching the fitting is foreseeable.
These are separate acceptance questions: a fitting can meet a load requirement while remaining unsuitable for the intended surface finish or contact conditions.
Check the complete installation envelope, not just the body height
Compare dimensions from the same reference level, normally the finished surface. Identify the visible face, body, mounting sleeve, recess opening and required installation depth separately.
A shallow body may help, but the installation can also need space for a cable bend, connection enclosure, support and water management. Those components may sit beside or below the fitting depending on the approved arrangement. Adding an arbitrary allowance to the housing height is not a substitute for a coordinated section.
Figure 1. Coordinate the complete installation envelope from the finished surface. Numbered zones identify matters to resolve, not prescribed construction layers. Conceptual illustration; not to scale or an installation drawing.
Use this review sequence when the available depth is restricted:
- Obtain the dimensioned assembly drawing. Check whether each dimension describes the luminaire, sleeve or required opening.
- Add the actual surrounding construction. Include the paving build-up, supporting structure and any waterproofing that the project team must protect.
- Locate the cable and connection. Confirm the permitted routing, connection enclosure and access required by the selected system.
- Resolve water management. Show the applicable drained or otherwise approved arrangement without assuming the luminaire rating solves the civil detail.
- Check removal and servicing. Establish whether the fitting and serviceable components can be reached without damaging the finished surface.
Approve the location only when those items can coexist. If one remains unresolved, retain the fixture as a candidate rather than releasing the recess dimensions for construction.
A useful dimensional check from the CRANE catalogue
The CRANE MA32 listing gives a luminaire height of 81 mm and a listed installation-opening depth of 110 mm. They describe different dimensions; the housing height should not replace the listed opening depth in a construction detail.
The MB100 listing gives a 43 mm total height, including a 40 mm body height. That establishes a shallow product format, but does not by itself establish the required excavation depth or space for the complete assembly.
These catalogue facts provide an initial screening method, not approved site details. Request the matching drawings and check the finished-level datum before releasing either option. The two products also have different face sizes and should not be treated as interchangeable simply because one is shallower.
Evaluate glare from the route, not just the illuminated object
A recessed fitting can conceal much of its housing while leaving the emitting aperture visible. Assess the source from normal walking approaches, seating positions and driver viewpoints where relevant, as well as the intended view of the illuminated object.
For an accent light, compare the target’s position with the actual adjustment range and distribution. For wall lighting, confirm the required orientation of asymmetric optics. Re-aiming a fitting or changing an optic may affect both the target and the unwanted light seen by an observer.
Consider shielding or louvres only where they are available for the selected configuration. Check the resulting distribution rather than assuming an accessory removes glare without affecting useful light. A nominal beam angle alone does not show the full off-axis output.
Request an Illuminating Engineering Society (IES) or EULUMDAT (LDT) photometric file for the proposed configuration. Use it with the actual mounting geometry and target materials, then review a representative nighttime sample from the identified viewpoints. Do not infer coverage or uniformity from a product-page beam illustration.
Avoid selecting more output merely to compensate for light missing the target. Revise the optic or position first, and consider a different mounting approach if the required effect cannot be achieved without unacceptable source visibility or spill.
Build a CRANE shortlist around the actual constraint
MA Compact: small round openings and local architectural details
CRANE MA Compact Small Round LED In-Ground Lights includes MA32, MA42 and MA50, with separate mounting sleeves shown for the models.
This group is a candidate when the design calls for a small visible fitting beside a local architectural feature. Check the face, body and listed installation opening together. Compact size does not establish the required light level, traffic suitability or maintenance access.
Provide the proposed recess section and the target’s position relative to the luminaire. Request the exact model drawing, relevant photometry, connection detail and permitted water-exposure conditions. If people or equipment can cross the fitting, request the applicable load and surface information separately.
MB Shallow: limited construction depth
CRANE MB Shallow Round LED In-Ground Lights includes MB100, MB125, MB150 and MB170. Its shallow body format makes it worth reviewing where the available construction depth is a leading constraint.
The listing does not provide a beam angle for the group. Do not specify it as a narrow accent or a broad wallwasher without obtaining the applicable optical documentation.
Send the available section, preferred face size, target surface and cable route with the inquiry. Confirm the full installation envelope and the selected electrical configuration before approval. The public listing alone does not establish vehicle-loading suitability.
Resolve the electrical arrangement and maintenance access before ordering
State the exact supply and control configuration in the quotation. Where a separate power supply or driver is needed, identify its location, access and environmental conditions. Ask the electrical designer to check compatibility and cable requirements for the actual layout; the luminaire’s catalogue voltage is only one input.
For below-ground connections, request a documented connection method compatible with the cable, exposure and luminaire instructions. A protected luminaire housing does not establish the protection of a separately assembled joint. Avoid burying an unspecified connector and assuming the fitting’s rating applies to it.
Clarify which parts are serviceable, who may open the fitting and whether a seal or connection component must be replaced after access. A long LED-life claim is not a maintenance plan for the entire installation.
Before releasing an order, compare offers against these decisions:
| Decision | Evidence needed | Reason to pause approval |
|---|---|---|
| The fitting can produce the intended effect | Configuration-specific photometry and a representative visual review | Only watts, generic beam sketches or unrelated samples are supplied |
| The complete assembly fits | Coordinated section with installation and service access | The review considers only body dimensions |
| Water exposure is addressed | Applicable instructions and an agreed site detail | Water has no identified route or the exposure is outside documented conditions |
| Traffic and contact conditions are covered | Relevant loading, support and surface information | IP or IK is offered as the sole proof of traffic suitability |
| The system can be powered and maintained | Confirmed supply, connection and replacement arrangements | Essential components become inaccessible after completion |
Use this table to identify a specific missing document or design decision. A suitable-looking product can remain on the shortlist while its installation detail is resolved; an unverified assumption should not become a construction instruction.
Frequently asked questions
Can a replacement inground light reuse an existing sleeve?
Only after checking more than the visible diameter. Compare the retaining method, opening, depth, trim support, cable entry and removal access with the replacement manufacturer’s requirements. Obtain compatibility confirmation where needed. A fitting that drops into the opening is not necessarily a supported or properly sealed assembly.
Can inground lights be cleaned with a pressure washer?
Do not assume an immersion-related rating permits pressure washing. Check the manufacturer’s cleaning instructions and any applicable water-jet test conditions. Agree the cleaning method with the maintenance contractor before selecting fittings for areas that are routinely pressure-cleaned.
What changes when an inground uplight is installed beside a growing tree?
Allow for changes in the target and the surrounding ground over time. Coordinate placement with the landscape or arboricultural team so installation does not damage important roots. Check whether future growth could obstruct the aperture, alter access or make the original aiming unsuitable. An accessible, repositionable lighting approach may be preferable in some locations.
Will replacement lights with the same colour temperature match the originals?
The same nominal correlated colour temperature (CCT) is not sufficient to establish a visual match. Request the relevant colour-consistency information and compare a sample with the retained fittings at the intended operating level. Include the illuminated material in the comparison, especially when the lights appear together along one wall.
What should be checked if moisture appears inside the glass?
Document the conditions and have the fitting assessed under the manufacturer’s service procedure. The observation alone does not establish whether the cause is ingress, a disturbed seal or another condition. Avoid drilling a vent or opening a factory-sealed product as a speculative repair; those changes can compromise the intended construction.
Can a 24 V DC inground light use an existing 12 V landscape supply?
Not unless the manufacturer explicitly documents that input range for the exact configuration. Match the required voltage, AC or DC supply type and driver arrangement. Ask the designer to review the existing circuit and the proposed controls rather than assuming that all low-voltage landscape equipment is interchangeable.
Discuss the installation detail with CRANE
Send CRANE the proposed locations, a section through the finished surface, target-lighting requirements, traffic exposure and intended supply and control arrangement. These details help narrow the product shortlist and identify which optical, installation and environmental documents are needed before a configuration is approved.

Ethan Lee
Product Selection
Explore Lighting Products for Landscape Projects
Compare product families by the lighting effect, mounting position and architectural detail you need to achieve.
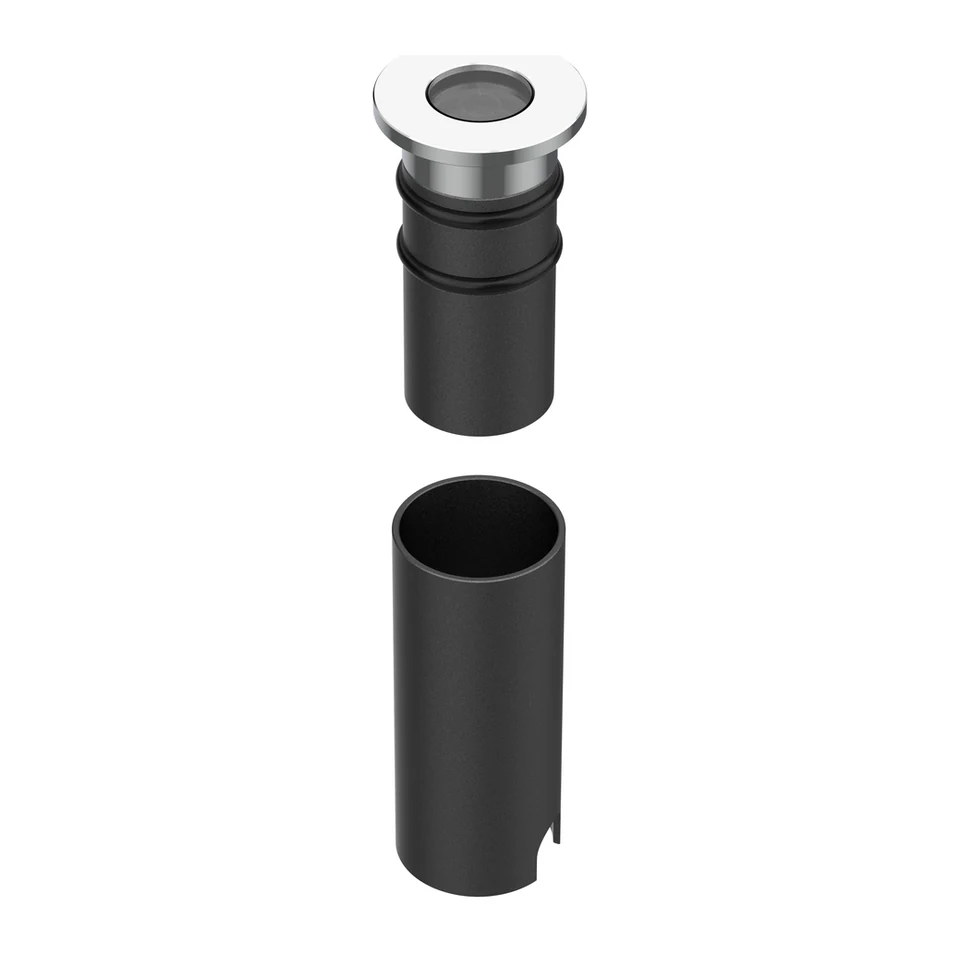
LED Inground / Underground Lights
LED inground lights for architectural uplighting, landscape features, pathways and ground-recessed outdoor applications.
Browse Inground / Underground Lights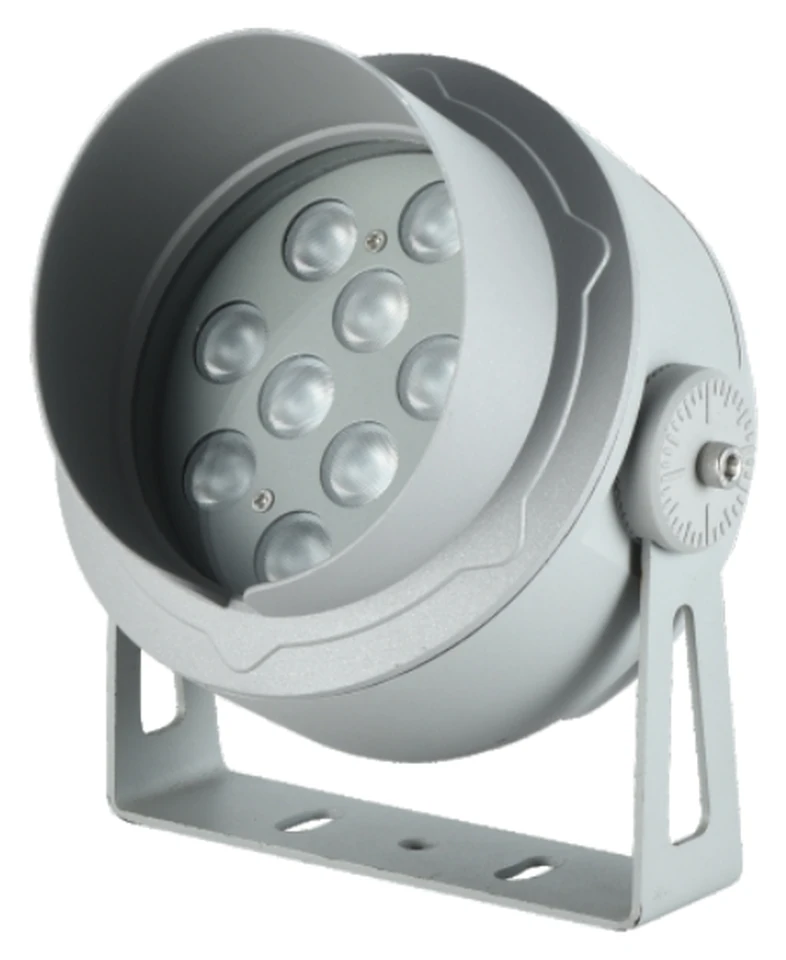
LED Flood Lights
Architectural LED flood lights for facades, landmarks, landscapes and outdoor lighting projects.
Browse Flood Lights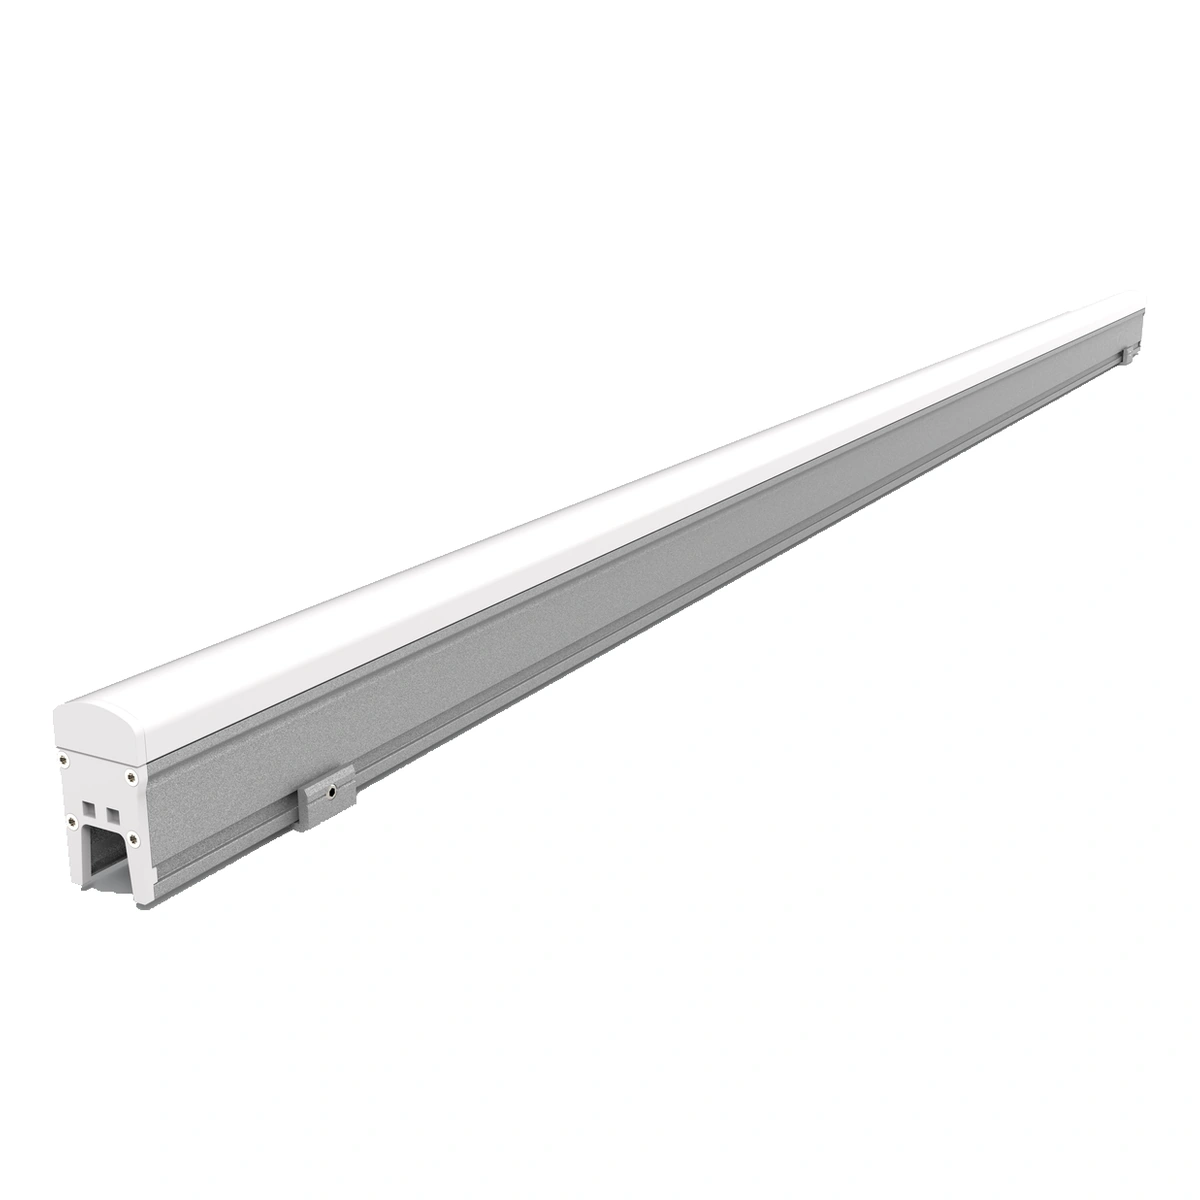
LED Linear Lights
Architectural LED linear lights with model-specific PC covers, glass faces or aluminium aperture-style profiles.
Browse Linear LightsExplore Landscape Lighting Solutions
Related Project
See Landscape Lighting in Practice
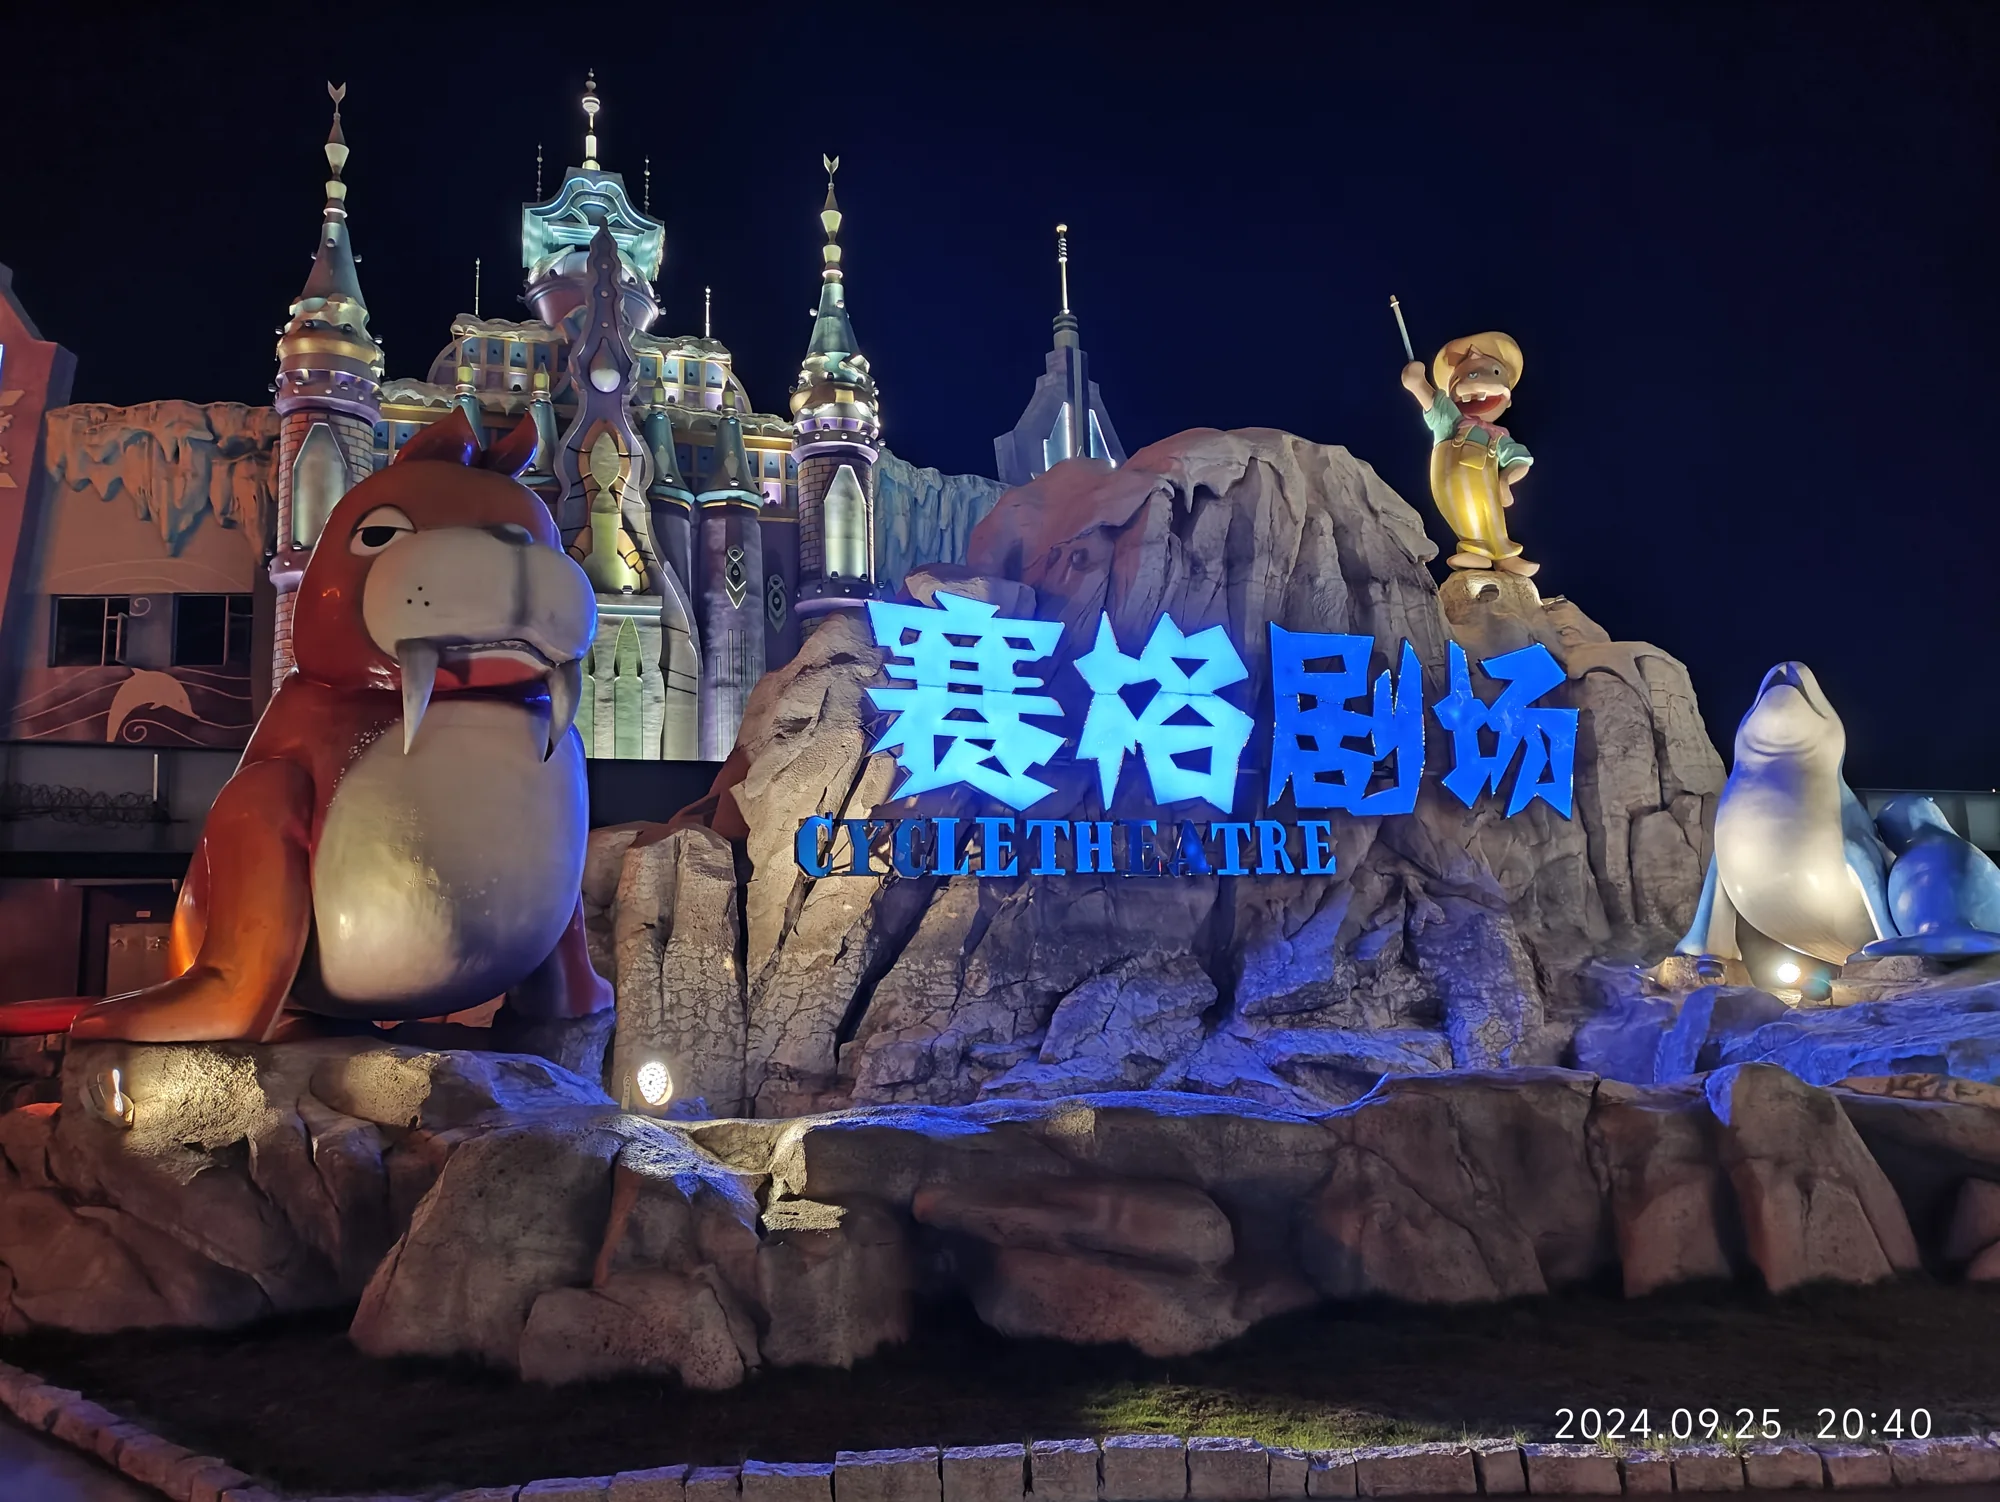
Changsha Xiangjiang Happy Ocean
At Changsha's Xiangjiang Happy Ocean, LED lighting traces the amusement rides and brings color to themed buildings and sculptural features. The project combines facade washes, linear accents and floodlighting with DMX512-controlled lighting scenes.
View the Lighting ProjectProject Inquiry
Discuss Your Facade Lighting Project
Tell us about your facade, desired lighting effect and project requirements.